
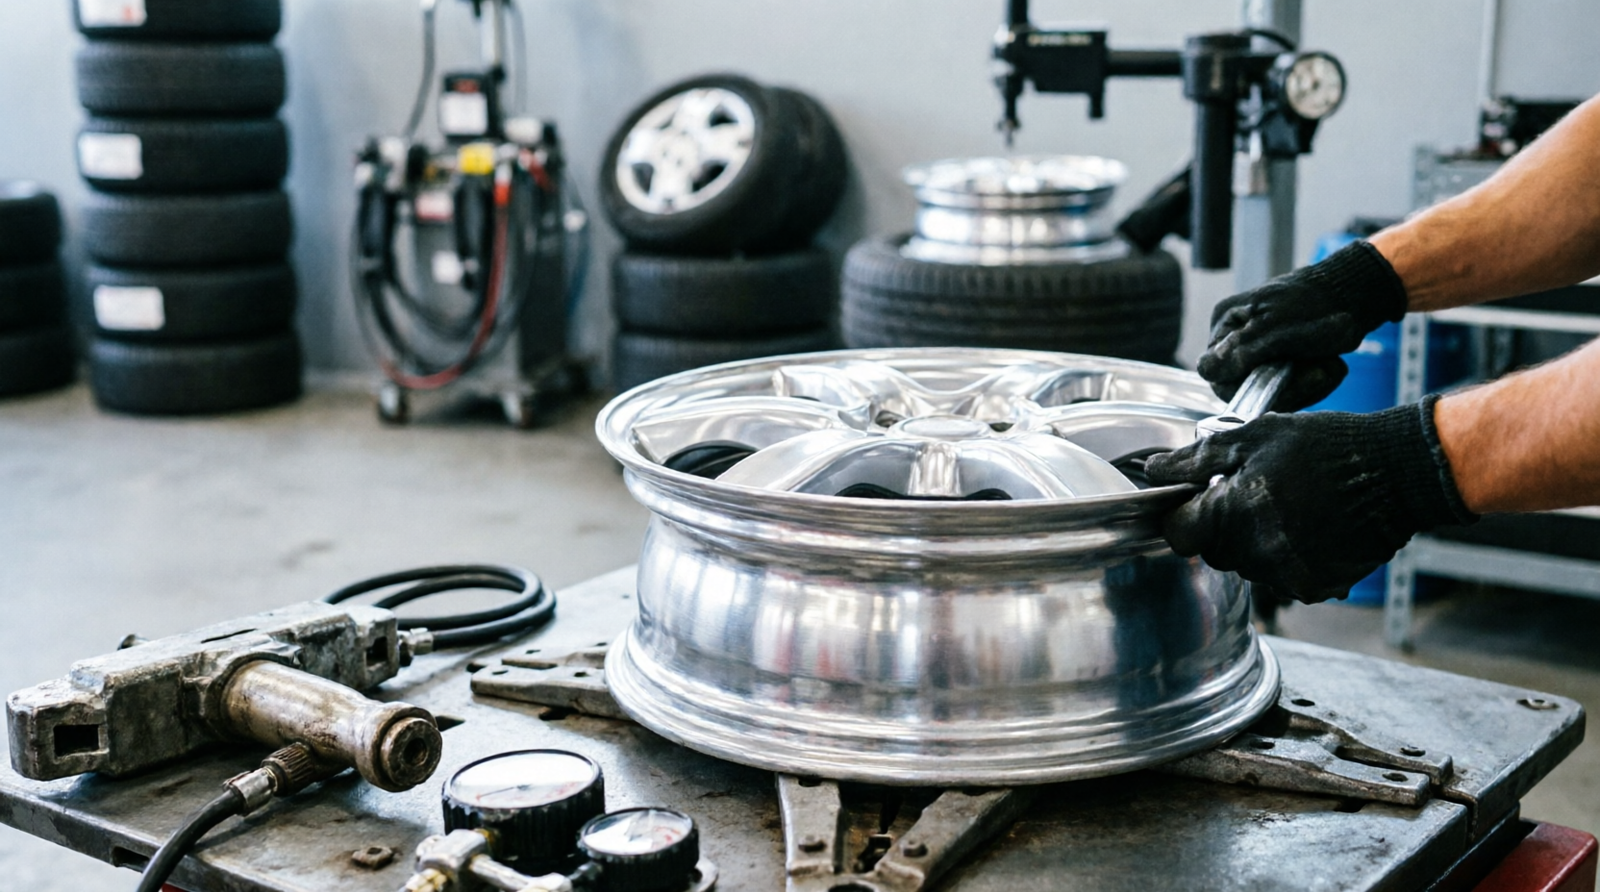
Swapping in a spare is one thing. Changing a tire on a rim is another job entirely. You’re separating the rubber tire from the metal wheel and fitting a new tire onto the same wheel. That’s why tire shops have machines built for it.
This guide explains what the job involves, what you can check yourself, and why most people are better off paying a shop. If you just have a flat and want to swap the whole wheel, see our step-by-step guide to changing a flat tire.
A note on this guide: I haven’t mounted a tire onto a rim myself. This is based on manufacturer guidance and standard shop practice, and I’d rather say so than pretend otherwise. I’ve changed whole wheels on my own cars, but fitting the tire to the wheel is a job I leave to a shop.
Tire vs. Rim: What’s the Difference?
The tire is the rubber. The rim (properly, the wheel) is the metal it sits on. When you change a tire on a rim, the old tire comes off and a new one goes onto the same wheel.
This comes up when:
- The tread is worn out
- The tire is damaged beyond repair
- You’re switching to a different tire
- You swap seasonal tires but keep the same wheels
- The tire has simply aged out, even though the wheel is fine
Taking a whole wheel off the car is easy. Separating the tire from it is the hard part, because the tire’s edge (the bead) grips the rim to form an airtight seal.
What a Shop Actually Does
Knowing the steps helps you judge whether a shop is doing it properly:
- Deflates the tire completely, so nothing is under pressure.
- Breaks the bead free from the rim on both sides.
- Removes the old tire using a tire machine, which holds the wheel and walks the tire off without damaging the rim.
- Cleans and inspects the bare wheel for cracks, bends, corrosion, and a good bead seat.
- Fits the new tire, with mounting lubricant, in the right direction.
- Inflates and seats the bead with safety equipment.
- Checks for leaks, usually with soapy water around the bead and valve.
- Balances the wheel, so it spins smoothly at speed.
- Sets the pressure to your car’s recommended figure, not the number on the tire.
What You Can Check Yourself
You don’t need a machine to do the sensible prep.
Make sure the tire fits the wheel. The size on the sidewall, such as 225/60R17, tells you the wheel diameter it’s made for (the “17”). It needs to match your car’s requirements. Also check the load rating and speed rating.
Look at the direction markings. Many tires are directional, with an arrow or “ROTATION” on the sidewall showing which way they should spin. Others are marked “OUTSIDE” and “INSIDE.” Fitted the wrong way, they don’t perform as designed.
Check the tire’s age. Look on the sidewall for a four-digit code after “DOT.” The first two digits are the week and the last two are the year, so “3623” means the 36th week of 2023. Rubber ages even in storage, so avoid fitting a tire that’s already old.
Look at the wheel for damage. Cracks, bends, heavy corrosion around the bead, and a damaged valve or TPMS sensor are all reasons to have the wheel checked before any tire goes on it. A new tire can’t fix a damaged wheel.
Why Most People Should Use a Shop
Doing this at home without a tire machine means using pry bars on the rubber, and that brings real risks:
- Injury from inflation. A tire that won’t seat can be dangerous if you keep adding pressure.
- A damaged wheel. Aluminum scratches and bends easily.
- A torn tire bead, which ruins a new tire.
- No balancing. Balancing needs a spin balancer, and skipping it can cause vibration and uneven wear.
- Missed problems, such as internal tire damage or a faulty valve.
| Home | Tire shop | |
|---|---|---|
| Removing the wheel from the car | Yes | Yes |
| Breaking the bead | Possible with the right tool | Yes |
| Fitting the new tire | Hard without a machine | Yes |
| Inflating and seating the bead | Riskiest part | Yes, with safety equipment |
| Balancing | Needs special equipment | Yes |
| TPMS and valve service | Needs proper tools | Yes |
A shop is the better choice for run-flat tires, low-profile tires, expensive or delicate wheels, and any tire with a bead that won’t seat. Modern machines do the job with less risk to the wheel than hand tools.
Questions to Ask the Shop
- Does the price include mounting, balancing, a new valve stem, and disposal of the old tire?
- Will you check the wheel for damage while the tire is off?
- Will you replace the valve stem or service the TPMS sensor?
Prices vary too much between countries and shops for me to quote one, so ask for the full amount up front.
After the New Tire Goes On
- Check the pressure against the sticker on the driver’s door jamb or in your owner’s manual. The number printed on the tire is the maximum, not the target.
- Check the wheel nuts are tightened to your car’s specification, ideally with a torque wrench.
- Re-check after a short drive. Pull over somewhere safe and make sure everything feels right, with no vibration or pulling.
If a tire has already come off its rim, that’s a different situation. Read what to do if a tire comes off the rim while driving.
Frequently Asked Questions
Can I change a tire on a rim myself?
It’s possible with the right equipment, but it’s a job I’d leave to a shop. Inflating and seating the bead is where most of the risk is.
Do I need to balance a new tire?
Yes. Balancing prevents vibration and uneven wear, and it needs a machine most home garages don’t have.
Is it harder on an aluminum rim?
It’s not harder, but it’s easier to scratch or dent, so shops take extra care.
Should the valve stem be replaced?
Often, yes. Many technicians replace the valve stem, or service the TPMS valve, whenever a tire is remounted.
Can I mount a tire on a damaged rim?
Not until it has been checked. Cracked, badly bent, or heavily corroded wheels should be inspected by a professional first.
How do I know a tire is on the right way round?
Check the sidewall. Directional tires have a rotation arrow, and asymmetric ones are marked which side faces out.
Is this the same as changing a flat?
No. Changing a flat usually means swapping the whole wheel for the spare. Changing a tire on a rim means replacing the rubber on the same wheel
Related Guides
Final Thoughts
Changing a tire on a rim isn’t a roadside job, and for most drivers it isn’t a garage job either. The prep is worth doing yourself: check the size, the direction markings, and the tire’s age, and look over the wheel. The mounting, inflating, and balancing are worth paying a shop to do.