
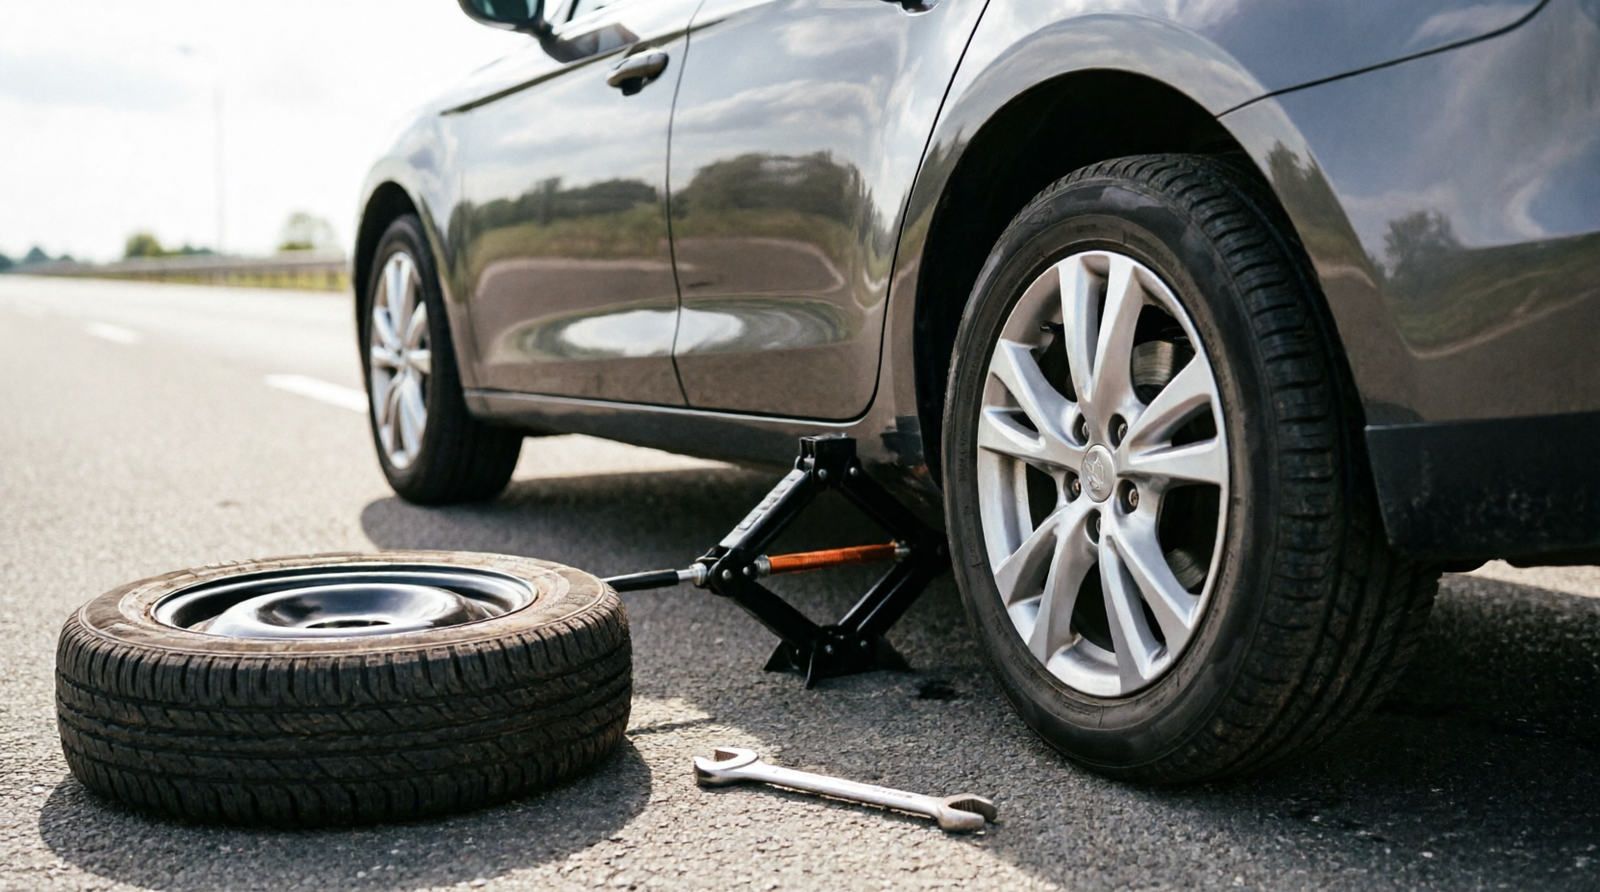
How to Put On a Spare Tire: A Step-by-Step Guide

August 14, 2026
Written By basharch4203@gmail.com

Automotive writer sharing tyre reviews, buying guides, maintenance tips, and comparisons to help drivers make informed decisions.

A flat tire can turn an ordinary drive into a stressful roadside stop. If you know how to put on a spare tire, though, you can often handle the problem yourself instead of waiting for roadside assistance.

The process is straightforward, but safety comes first. You need the right tools, a stable place to work, and your vehicle’s specific jacking instructions. This guide walks you through changing the flat, installing the spare, and knowing how to drive on it afterward.

Before You Start: What You’ll Need

Before you ever have a flat, make sure you know where your spare tire and tools are stored. Depending on the vehicle, they may be under the trunk floor, beneath the rear of an SUV or truck, or in another storage compartment.

ItemPurpose
Spare tireTemporary or full-size replacement
Car jackRaises the vehicle
Lug wrenchLoosens and tightens lug nuts
Owner’s manualShows jacking points and spare-tire information
Wheel wedgesHelps prevent the vehicle from rolling
FlashlightUseful when changing a tire at night
GlovesKeeps your hands cleaner and provides some protection

Check the spare’s condition and air pressure regularly. A spare that has been sitting underinflated for years won’t be much help when you need it.

Step 1: Find a Safe Place to Stop

If you feel a tire going flat, slow down gradually. You may notice a thumping sound, the vehicle pulling to one side, or a tire-pressure warning on the dashboard.

Ease off the accelerator and steer toward the nearest safe stopping area. Avoid stopping on a curve, hill, or narrow shoulder when you have another option. A flat, level surface away from moving traffic gives you much more room to work.

Once you’re stopped:

  • Turn on your hazard lights.
  • Put an automatic transmission in Park. With a manual transmission, leave it in gear.
  • Engage the parking brake.
  • If you have warning triangles or road flares, use them according to their instructions and local conditions.

If you’re on a busy highway with little or no safe shoulder, don’t try to change the tire simply because you have the tools. Moving traffic can make a roadside tire change extremely dangerous. Call roadside assistance instead.

Step 2: Gather Your Tools and Secure the Vehicle

Take out the spare tire, jack, and lug wrench. If your vehicle has a wheel cover or hubcap, remove it using the supplied tool or the method described in the owner’s manual.

Place wheel wedges behind or in front of the tires that remain on the ground, depending on your vehicle and the direction that could allow it to roll. Never rely on the jack alone to keep the vehicle stationary.

Before lifting the vehicle, check that:

  • The parking brake is engaged.
  • The transmission is in Park or in gear.
  • The jack, lug wrench, and spare are ready.
  • You’re working on firm, reasonably level ground.

If the surface is too soft, sloped, or unstable to safely support the jack, find another location or call for help.

Step 3: Loosen the Lug Nuts Before Jacking

This step is easy to skip, but it makes the job much easier.

With the flat tire still firmly on the ground, place the lug wrench on each lug nut and turn it counterclockwise. You only need to break each nut loose at this point. Don’t remove them yet.

The weight of the vehicle keeps the wheel from turning while you loosen the nuts. Once the tire is off the ground, the wheel can spin, making a stubborn lug nut much harder to loosen.

A quarter to half turn is usually enough before lifting the vehicle.

If a lug nut is extremely tight and you can’t loosen it safely with the supplied wrench, don’t put yourself in danger trying to force it. Roadside assistance may be the better option.

Step 4: Position the Jack and Lift the Vehicle

This is the part where your owner’s manual matters most.

Find the jacking point specified for your vehicle. Many cars have reinforced areas along the pinch weld or jacking rail, while trucks and body-on-frame SUVs may use points on the frame.

Don’t simply place the jack wherever the metal looks strong. An incorrect jacking point can damage the vehicle or allow the jack to slip.

Once the jack is positioned correctly:

  1. Raise the vehicle slowly.
  2. Continue until the flat tire is a few inches above the ground.
  3. Make sure there is enough clearance to remove the wheel and install the spare.
  4. Stop if the vehicle becomes unstable, the jack shifts, or the lifting point doesn’t look secure.

Never put any part of your body underneath a vehicle supported only by a jack. A jack is intended to lift the vehicle, not provide a secure support system for working underneath it.

Step 5: Remove the Flat Tire

Now finish removing the lug nuts by hand. Keep them somewhere they won’t roll away, such as inside the removed hubcap or a small container.

Hold the tire firmly and pull it straight toward you, away from the wheel hub. If it has been mounted for a long time, it may take some effort to break it free.

Once the wheel comes off, move it away from the vehicle and out of the path of traffic.

Don’t leave the removed tire where someone could trip over it or where it could roll into the roadway.

Step 6: Mount the Spare Tire

Lift the spare into position and line up the wheel holes with the studs or mounting holes on the hub.

Push the wheel fully against the hub. Take a moment to make sure it is seated correctly before installing the lug nuts.

Some wheels and tires have a specific orientation. If the tire is directional or the wheel has an asymmetrical design, check that it is facing the correct way.

Next:

  • Thread each lug nut onto the stud by hand.
  • Turn each nut clockwise until it is snug.
  • Don’t fully tighten the nuts while the wheel is still freely hanging.
  • Tighten the nuts in a star or crisscross pattern.

The crisscross pattern helps the wheel seat evenly against the hub.

Step 7: Lower the Vehicle and Tighten the Lug Nuts

Lower the jack slowly until the spare is touching the ground and can no longer spin freely.

Now tighten the lug nuts using the star pattern. Once the vehicle is fully back on the ground, remove the jack and give the lug nuts another firm check.

The safest option is to use a torque wrench and tighten the lug nuts to the torque specification listed by the vehicle manufacturer. If you don’t have one with you, make sure the nuts are firmly tightened with the vehicle’s lug wrench, then have the lug torque checked as soon as practical.

Don’t guess at the manufacturer’s torque specification. It can vary from one vehicle to another.

Step 8: Check the Spare Tire and Pack Everything Away

Before driving away, check the spare’s inflation if you have a tire-pressure gauge.

Compact donut spares often require much higher inflation pressure than regular passenger tires. Some are around 60 PSI, but don’t assume that number applies to yours. Check the spare’s sidewall or your owner’s manual for the correct pressure.

Then put the flat tire, jack, lug wrench, wheel wedges, and other equipment back in their proper storage locations.

Make sure nothing is loose inside the vehicle. Tools left rolling around in the cargo area can become a hazard while driving.

Driving on a Spare Tire: What You Need to Know

A spare tire is not automatically equivalent to the tire it replaced. Before driving normally, find out which type of spare you have and check the limits specified by the vehicle or tire manufacturer.

Compact “Donut” Spare

A compact spare is smaller and narrower than your regular tire and is designed for temporary use.

Many manufacturers limit these spares to around 50 mph, with a limited driving distance before the flat tire is repaired or replaced. The exact limit varies, so use the speed and distance information printed on the spare or provided in your owner’s manual.

Because its size can differ from the other tires, a donut spare can change the vehicle’s handling and braking behavior. It can also affect systems such as ABS or traction control on some vehicles.

Drive cautiously and go directly to a suitable tire shop or repair location.

Full-Size Spare

Some trucks and SUVs have a full-size spare that is the same general size as the other tires.

That doesn’t necessarily mean it is identical. The spare may have a different tread design, different amount of wear, or different specifications.

Check your owner’s manual before treating a full-size spare as a permanent replacement.

Run-Flat Tires

Some vehicles don’t carry a spare because they use run-flat tires. These tires are designed to maintain limited mobility after losing air.

The allowable speed and distance vary by tire and vehicle. If you have a run-flat tire, follow the manufacturer’s limits and have the tire inspected or replaced as soon as possible.

Spare TypeTypical UseImportant Consideration
Compact donut spareTemporary trip to a repair facilityLimited speed and distance
Full-size spareTemporary replacementMay differ in tread or wear
Run-flat tireLimited driving after air lossFollow the tire and vehicle limits

Special Situations: AWD, 4WD, and Sports Cars

Some vehicles require extra care when one tire is replaced with a spare.

All-wheel-drive and four-wheel-drive vehicles can be particularly sensitive to differences in tire diameter. A compact spare may have a different rolling circumference from the other tires, which can affect the drivetrain.

For that reason, don’t assume the usual spare-tire limits apply to an AWD or 4WD vehicle. Check the owner’s manual for specific instructions. Some manufacturers place stricter limits on using a temporary spare with these systems.

Sports and performance cars may not have a spare at all. Some use run-flat tires, while others come with a tire repair kit and an air compressor.

Trucks and larger SUVs often store the spare underneath the rear of the vehicle. A crank or lowering mechanism is commonly used to bring it down. Find out how that mechanism works before you need it; doing so in daylight and without roadside traffic around you is much easier than figuring it out during an emergency.

Choosing and Using the Right Jack

Your vehicle’s supplied jack is designed for that vehicle and is usually compact enough to store with the spare.

Many cars use a scissor jack, which is lightweight and easy to store but requires several turns of the handle to raise the vehicle. Some trucks and SUVs use a bottle jack, which can handle heavier loads but still needs to be positioned at the correct jacking point.

Whatever type you use, the same basic precautions apply:

  • Use the jack on firm, stable ground whenever possible.
  • Avoid soft soil, loose gravel, and other surfaces where the jack can sink or shift.
  • Follow the jacking-point instructions in the owner’s manual.
  • Raise the vehicle slowly and watch for movement.
  • If the jack starts leaning or the vehicle becomes unstable, stop and lower it before repositioning it.
  • Never crawl underneath a vehicle supported only by a jack.

Jacking points vary considerably between vehicles. A unibody car may have reinforced pinch welds, while a truck may use a frame-mounted lifting point. Using the wrong location can damage body panels or leave the vehicle inadequately supported.

Maintaining Your Spare Tire Before You Need It

A spare tire is easy to forget because it may spend years hidden under the cargo floor or beneath the vehicle.

Give it a quick inspection every few months:

  • Check the air pressure. Spare tires lose air over time, even when they’re never driven.
  • Look for cracks or dry rot. Rubber ages whether the tire is being used or not.
  • Check the tire’s overall condition. Don’t assume an unused tire is automatically safe.
  • Make sure the spare is actually there. A previous owner may have used it and never replaced it.
  • Locate the tools. Know where the jack, lug wrench, wheel-lock key, and any special tools are stored.

These checks take only a few minutes and can prevent a flat tire from turning into a much bigger roadside problem.

Common Mistakes to Avoid

A few mistakes can make an otherwise simple tire change unsafe or unnecessarily difficult.

  • Trying to loosen lug nuts after lifting the vehicle. The wheel can spin, making stubborn nuts harder to remove.
  • Using the wrong jacking point. Always follow the vehicle manufacturer’s instructions.
  • Working on soft or unstable ground. A jack can sink or shift.
  • Failing to tighten the lug nuts evenly. Use a star or crisscross pattern and follow the manufacturer’s torque specification when you have a torque wrench.
  • Driving too fast on a compact spare. Follow the speed limit printed on the spare or specified by the manufacturer.
  • Ignoring the spare’s age or condition. A tire can deteriorate even when it spends most of its life in storage.
  • Forgetting to repair the original flat. A spare is a temporary solution, not a reason to leave the damaged tire unattended indefinitely.

When to Call for Help Instead

Knowing how to change a tire doesn’t mean you should always do it yourself.

Call roadside assistance or a tow service if:

  • You can’t get safely away from moving traffic.
  • The vehicle is on an unstable or dangerous surface.
  • More than one tire is damaged.
  • The spare is missing, damaged, or unusable.
  • You can’t safely loosen the lug nuts.
  • Weather or darkness makes the job unsafe.
  • You’re simply not comfortable working beside the road.

There is no benefit to taking unnecessary risks just to prove you can change the tire yourself. Getting safely away from traffic is the priority.

It is also worth checking whether roadside assistance is already included with your auto insurance, vehicle manufacturer, or another service you use.

Frequently Asked Questions

How long can I drive on a spare tire?

It depends on the type of spare. Compact donut spares are generally intended for a short trip to a repair facility and often have limits around 50 miles or a similar range. Check the spare and owner’s manual for the exact limits.

Can I drive on the highway with a spare tire?

A compact spare usually has a lower speed rating than your normal tires, so highway driving should be avoided when possible. Follow the maximum speed shown on the spare and drive cautiously until the original tire is repaired or replaced.

Do I need a torque wrench to change a tire?

A torque wrench is the best way to set the lug nuts to the manufacturer’s exact specification. If you don’t have one during a roadside emergency, tighten the lug nuts firmly with the supplied wrench and have their torque checked as soon as practical.

Why did my dashboard warning lights turn on after I installed the spare?

A temporary spare can have a different diameter from the other tires. On some vehicles, that difference can affect wheel-speed readings and trigger ABS, traction-control, or related warnings. Follow the vehicle manufacturer’s instructions and have the original tire restored as soon as possible.

What if my lug nuts won’t loosen?

First, make sure the wrench is properly seated on the lug nut and that you’re using it in a stable position. If the nut still won’t loosen without excessive force or an unsafe body position, stop and call for roadside assistance rather than risking an injury or damaged wheel hardware.

Is it safe to use a spare tire that’s several years old?

Not necessarily. Spare tires age even when they aren’t driven. Check the tire for cracking, dry rot, and other signs of deterioration, and follow the manufacturer’s guidance on tire age and replacement.

Can I install the spare tire backward?

Some tires and wheels have a specific orientation. Directional tires, in particular, need to rotate in the correct direction. Check the markings on the tire and follow the vehicle or tire manufacturer’s instructions before driving.

Final Thoughts

Putting on a spare tire is a manageable job when you have a safe place to work and the right equipment. The most important steps are simple: get away from traffic, secure the vehicle, loosen the lug nuts before lifting, use the correct jacking point, and tighten the wheel properly.

Once the spare is installed, follow its speed and distance limits and get the original tire repaired or replaced as soon as possible. A few minutes of preparation before a flat happens can make the whole process much easier when you actually need it.