

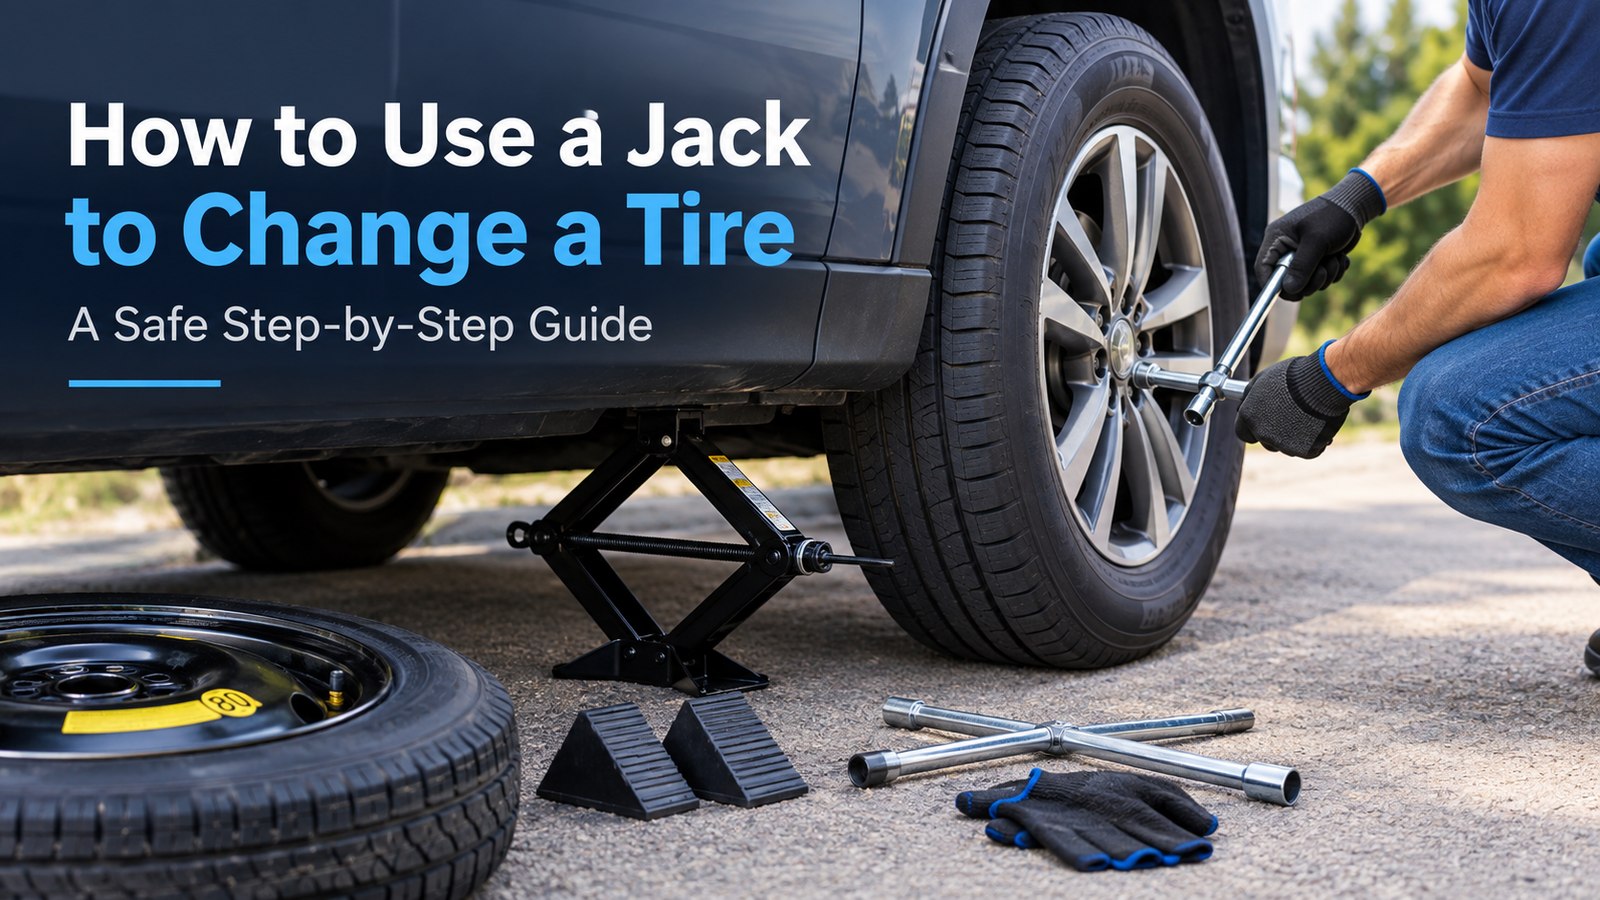
A flat tire always seems to happen at the worst possible moment. The good news is that changing one is a straightforward job once you know how to use a car jack correctly. The jack’s only real task is to lift the vehicle high enough to swap the wheel, but doing that safely depends on where you park, where you place the jack, and how carefully you follow each step. This guide walks through the entire process, from picking a safe spot to park to torquing down the final lug nut, so you can get back on the road with confidence.
What You’ll Need Before You Start
Most vehicles that come with a spare tire also come with a jack and lug wrench tucked into the trunk or under the cargo floor. Before you loosen a single bolt, take a minute to gather your equipment and make sure it’s actually in working order.
You’ll typically need:
- A vehicle jack (usually a scissor jack)
- A lug wrench
- A spare tire
- Wheel chocks
- Your owner’s manual
- A flashlight or headlamp for nighttime flats
- Work gloves
- Warning triangles or flares for roadside situations
Check Your Spare Tire, Too
It’s easy to assume the spare is ready to go, but tires lose air even when they’re just sitting in the trunk. Check the pressure with a tire gauge and look for cracks or dry rot before you rely on it. If you have a temporary “donut” spare, remember it’s built for short-term use at reduced speeds, not as a permanent replacement tire.
It’s worth doing this check now, before you’re stranded, rather than discovering a flat spare after you’ve already jacked up the car. A quick look every few months, along with your regular maintenance, saves you from a much worse surprise later.
Step 1: Park in a Safe, Stable Location
Where you stop matters just as much as how you use the jack. A flat, paved surface, like a driveway, parking lot, or wide shoulder, gives the jack a solid base to work from. Soft ground, gravel, and slopes make the vehicle far less predictable once it’s off the ground.
If the tire goes flat while you’re driving, turn on your hazard lights right away and move as far from traffic as you safely can, ideally past the white fog line and away from a curve or hill crest where other drivers have less time to react. On a busy road or highway, it’s often smarter to call roadside assistance and wait for help rather than attempt the change yourself. Standing between your car and moving traffic, even for a few minutes, carries real risk that isn’t worth taking to save a tow fee.
Once you’ve stopped:
- Shift into Park (automatic) or first/reverse gear (manual)
- Set the parking brake
- Turn off the engine
- Keep passengers out of the road
- Set out warning triangles if you have them
Step 2: Chock the Wheels and Engage the Brake
A jack lifts a car; it doesn’t hold it steady. That job belongs to wheel chocks. Even with the parking brake on, a vehicle can shift slightly once you start applying force to the lug nuts, and chocks add a second layer of security.
Place chocks on the wheels diagonally opposite the one you’re changing. Working on a front tire? Chock the rear wheels. Working on a rear tire? Chock the front ones. No chocks on hand? Sturdy bricks or heavy wood blocks can work in a pinch, just avoid anything that could roll or crumble under pressure.
Step 3: Loosen the Lug Nuts Before You Lift the Car
This step trips up a lot of first-timers. Before you even touch the jack, loosen, but don’t remove, the lug nuts on the flat tire while it’s still on the ground. The tire’s contact with the pavement keeps the wheel from spinning while you apply force, which makes stubborn nuts much easier to budge.
Fit the lug wrench over one nut and turn it counterclockwise about a quarter to a half turn, then move to the next. Save full removal for after the car is in the air. If a nut won’t budge no matter how hard you push, don’t jump on the wrench for extra leverage; back off and consider calling for help instead.
Step 4: Find the Correct Jacking Point
This is where guesswork gets people into trouble. Every vehicle has specific reinforced spots designed to handle the pressure of a jack, usually along the rocker panel near each wheel. Your owner’s manual will show exactly where these points are, and many vehicles mark them with a small notch, arrow, or seam.
Spots to Avoid
| Never Jack Under | Why It’s Risky |
| Plastic body panels or trim | Can crack or collapse under weight |
| Exhaust pipes or the muffler | Easily bent or crushed |
| Oil pan or fuel lines | Can puncture and cause leaks |
| Suspension components | Not designed to bear the car’s full weight |
| Random spots on the frame | May not be reinforced, risking a slip |
When in doubt, check the manual. A few extra minutes spent finding the right jacking point beats a bent rocker panel or a jack that slips out from under the car.
Keep in mind that the right spot can look different depending on your vehicle. Most passenger cars and crossovers use a unibody design with reinforced pinch welds along each rocker panel, while many trucks and body-on-frame SUVs have separate frame rails that serve as the jacking point instead. Neither is better or worse, but using the wrong one for your vehicle type is a common reason jacks slip or dent the body.
Step 5: Raise the Vehicle and Remove the Flat Tire
With the jack positioned correctly, raise it slowly and watch how the vehicle responds. It should rise straight up without the jack leaning or tilting. If anything looks unstable, lower the car and reposition before continuing.
How High Should You Lift the Car?
Only raise the tire about 1 to 2 inches off the ground, just enough to slide the flat off and the spare on. There’s no benefit to lifting higher, and extra height only increases what could go wrong if the jack shifts.
Once the tire clears the ground, finish removing the lug nuts and set them somewhere safe, a cup holder or pocket works, so they don’t roll away or get lost in the gravel. Grip the tire with both hands and pull it straight toward you. If it’s stuck to the hub from rust or corrosion, resist the urge to crawl underneath or force it loose; a firm kick to the tread from a stable stance, or a little penetrating oil around the hub, usually does the trick.
Step 6: Install the Spare Tire
Lift the spare and line up its holes with the wheel studs, then push it onto the hub until it sits flush. Thread each lug nut on by hand first to avoid cross-threading, then snug them up with the lug wrench. Don’t fully tighten them yet; that final step happens once the car is back on the ground.
Step 7: Lower the Car and Tighten the Lug Nuts the Right Way
Slowly lower the vehicle until the spare touches the ground but can’t spin freely, then finish tightening. The order matters here: work in a star or crisscross pattern rather than going around the wheel in a circle. On a five-lug wheel, tighten one nut, then move to the one across from it, and continue that pattern. This helps the wheel seat evenly against the hub instead of sitting crooked.
A torque wrench is the best tool for hitting the exact spec listed in your owner’s manual. If you don’t have one, tighten the nuts as firmly as you can in the star pattern, then have them checked with a torque wrench at a shop as soon as possible. Both too loose and too tight cause problems: under-tightened nuts can back off as you drive, while over-tightened ones can warp the brake rotor or make the nuts far harder to remove next time.
Once the car is fully lowered, remove the jack and run through a quick check:
- All lug nuts are on and tightened
- The spare is seated properly
- Tools and the flat tire are stored, not left on the roadway
- Warning triangles are packed up
- The parking brake is released before you drive off
Common Mistakes to Avoid When Using a Jack
A tire change isn’t difficult, but a few small errors cause most of the trouble people run into:
- Jacking up on soft ground. Dirt, grass, and gravel let the jack sink and destabilize the car.
- Guessing at the jacking point. Skipping the manual and placing the jack wherever seems convenient risks damage or a slip.
- Lifting higher than necessary. Extra height just means a longer fall if something goes wrong.
- Getting underneath a jacked-up car. A jack holds weight temporarily; it’s not a substitute for jack stands.
- Skipping the pre-loosening step. Trying to break loose tight lug nuts while the wheel is already in the air just makes it spin.
- Using a damaged or worn-out jack. A jack with a bent frame, stripped threads, or a cracked base is far more likely to fail exactly when you’re relying on it most.
Scissor Jack vs. Floor Jack: Which One Should You Use?
The compact jack that came with your car and a shop-style floor jack both get the job done, but they’re built for different situations.
| Jack Type | Best For | Advantage | Downside |
| Scissor jack | Roadside emergencies | Compact, stores easily in the trunk | Slower and less stable on uneven ground |
| Floor jack | Garage or driveway maintenance | Stable and quick to operate | Bulky, not practical to carry with you |
| Bottle jack | Trucks and larger SUVs | High lifting capacity | Needs a sturdy, compatible jacking point |
For a flat on the road, the factory scissor jack is usually your best bet since it’s built to fit your specific vehicle. For routine maintenance at home, a properly rated floor jack paired with jack stands is safer and far more convenient.
When You Should Call a Professional Instead
Not every flat tire is a DIY job, and that’s okay. Call roadside assistance or a mechanic if:
- You’re stopped somewhere unsafe, like a narrow shoulder or busy lane
- The ground is soft, unstable, or sloped
- You can’t identify the correct jacking point
- The lug nuts won’t budge no matter how much force you apply
- The jack looks damaged or the vehicle seems too heavy for it
- You simply don’t feel confident doing it yourself
There’s no downside to waiting for help. A tow truck or roadside service call costs a lot less than an accident or an injury.
FAQs
How high should I jack up my car to change a tire?
Only about 1 to 2 inches, just enough for the flat to clear the ground. Lifting higher adds risk without any real benefit.
Where exactly should I place the jack?
Use the jacking point listed in your owner’s manual, usually along the reinforced rocker panel near each wheel. Never guess.
Do I need to loosen the lug nuts before I jack up the car?
Yes. Loosen them slightly while the tire is still on the ground so the wheel doesn’t spin as you work.
Can I use a floor jack instead of my car’s factory jack?
Yes, as long as it has the right weight capacity and can safely reach your vehicle’s designated jacking point.
How long can I drive on a donut spare?
It depends on the tire, so check the sidewall and your owner’s manual. Most are rated for limited distance and lower speeds only.
Why won’t my wheel come off after I removed the lug nuts?
Corrosion can cause a wheel to stick to the hub. Don’t force it or go underneath the car; a shop can free it safely.
Final Thoughts
Changing a tire isn’t complicated once you understand the reasoning behind each step: park on solid ground, secure the vehicle, use the correct jacking point, and never go underneath a car that’s only supported by a jack. Keep your equipment checked and your owner’s manual handy, and a flat tire becomes a minor inconvenience instead of a roadside emergency.