

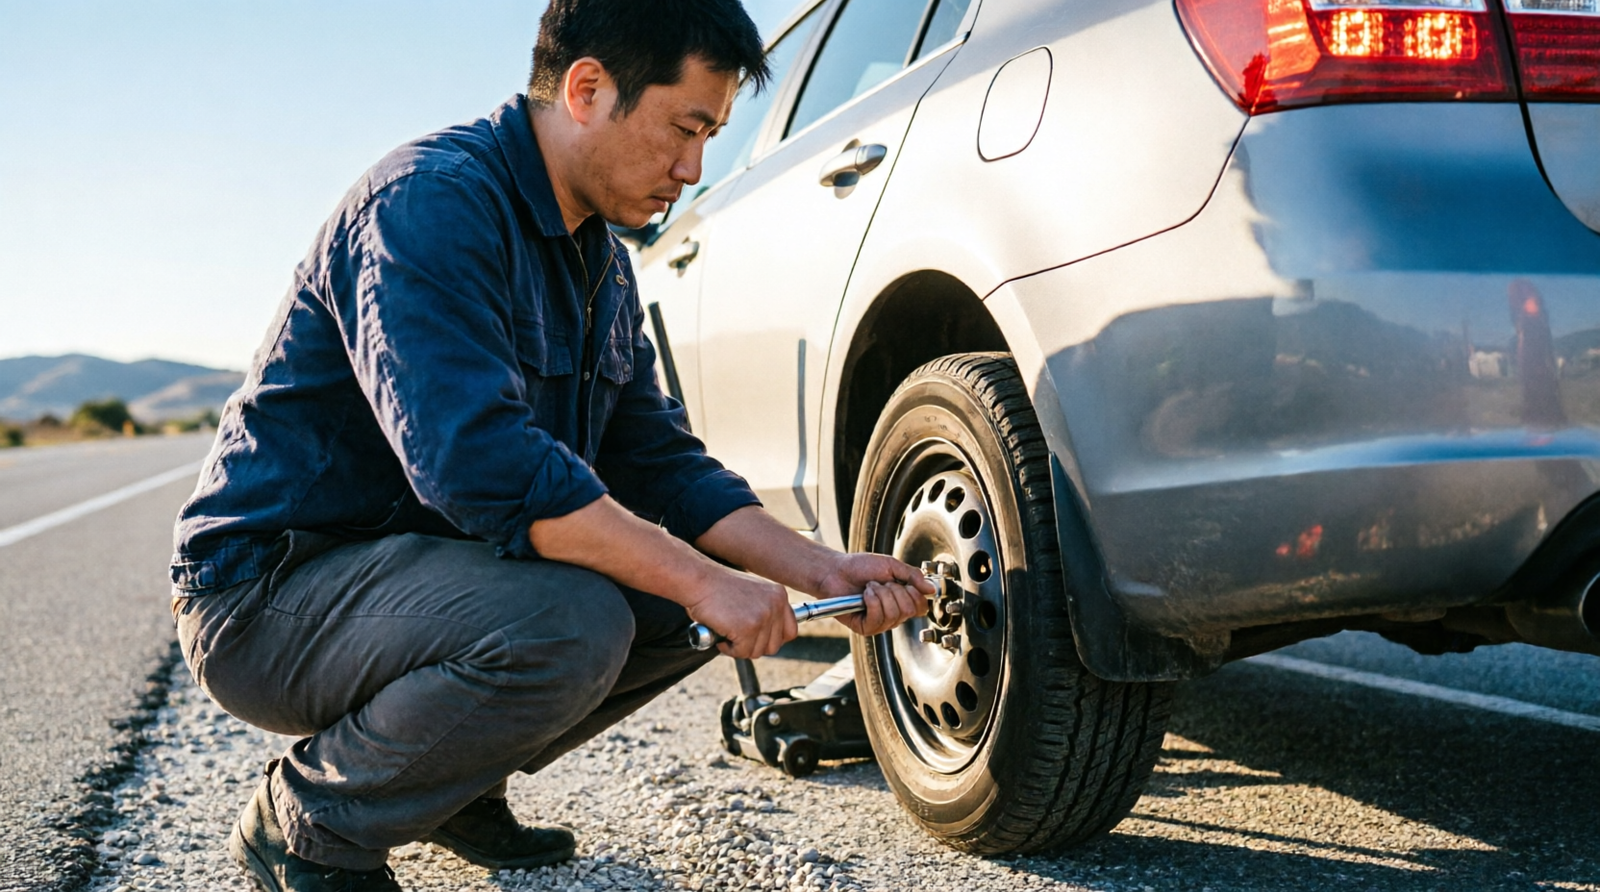
A flat tire always seems to happen at the worst possible moment. The good news is that knowing how to put on a spare tire can get you back on the road in about 20 minutes, without waiting on a tow truck. Here’s exactly how to do it safely, from start to finish.
What You’ll Need Before Installing a Spare Tire
Most vehicles come with a basic emergency kit, though where it’s stored varies by make and model. Check your trunk, cargo area, or under-floor compartment before you’re stuck needing it.
| Item | Purpose |
|---|---|
| Spare tire | Replaces the flat |
| Car jack | Lifts the vehicle off the ground |
| Lug wrench | Loosens and tightens lug nuts |
| Wheel chock | Keeps the car from rolling |
| Gloves | Protects your hands and improves grip |
| Flashlight | Helpful for nighttime changes |
Your owner’s manual is worth a quick look before you start. It tells you exactly where the spare and jack live and, more importantly, where the correct jacking points are for your specific vehicle. Jacking at the wrong spot can damage the frame or cause the vehicle to slip off the jack.
If you’re stranded on a busy highway shoulder with nowhere safe to pull off, skip the DIY approach. Calling roadside assistance is the smarter move.
It’s also worth taking five minutes this weekend — before you’re ever stuck on the side of the road — to actually locate everything and confirm it’s all there. Some newer vehicles don’t come with a spare at all, relying instead on run-flat tires or a tire repair kit with sealant and a compressor. If that’s your situation, it changes your entire approach to a flat, so it’s better to find out now than during an emergency.
Preparing Your Vehicle Safely
Before you touch a single lug nut, get your vehicle into a safe position. Look for a flat, firm surface well away from moving traffic.
Turn on your hazard lights immediately. Shift into Park if you’re driving an automatic, or follow your manual’s guidance for manual transmissions. Set the parking brake, and if you have wheel chocks, place them against the tires that will stay on the ground.
Avoid Dangerous Locations
A narrow shoulder, steep incline, soft dirt, or a spot with poor visibility all make a tire change riskier than it needs to be. If traffic is whizzing by just a few feet from you, or the ground isn’t level enough to trust a jack, don’t attempt it. Call for help instead.
One rule that’s non-negotiable: never put any part of your body underneath a car that’s being held up only by a jack. Jacks can fail or shift, and the consequences aren’t worth it.
If you’re changing a tire at night, park somewhere well-lit if you have the option, and keep your flashlight or phone light angled so you can clearly see the lug nuts, the jacking point, and the ground around your feet. Reflective triangles or road flares, if you carry them, are worth setting out behind your vehicle to give approaching drivers extra warning.
Removing the Flat Tire
Once your vehicle is secured, pop off any hubcap or wheel cover covering the lug nuts.
Before you lift the car, loosen each lug nut slightly with the wrench, turning counterclockwise. Don’t remove them yet — just break the initial resistance. This is much easier while the tire is still on the ground, since a raised wheel will just spin freely when you try to turn the wrench.
Next, find the correct jacking point (your manual will show you) and position the jack there. Raise the vehicle slowly until the flat tire is a couple of inches off the ground.
Now finish removing the loosened lug nuts, set them somewhere clean where they won’t roll away, and pull the flat tire straight off the hub.
If the wheel feels stuck and won’t budge even after all the lug nuts are off, it’s likely just corroded to the hub. A firm kick near the tread, or a few taps with the heel of your hand around the back of the wheel, is usually enough to break it free. Avoid prying at it with a metal tool, since that can damage the hub or the wheel itself.
Installing the Spare Tire
Lift the spare by its sides and line up the wheel holes with the studs on the hub. Push it into place until it sits flush against the mounting surface.
Tighten the Lug Nuts by Hand
Thread each lug nut onto its stud by hand, turning clockwise. Don’t crank one down as tight as possible right away — instead, work in a crisscross or star pattern, tightening each nut just a bit before moving to the one across from it. This helps the wheel seat evenly.
At this stage, hand-tight is all you need. Save the real tightening for after the car is back on the ground.
Take a second here to double-check that the spare is sitting flush against the hub with no gap or wobble. A wheel that isn’t seated correctly can throw off the lug nut torque later, even if the nuts themselves feel tight.
Lowering the Vehicle and Tightening the Lug Nuts
Slowly lower the jack until the spare touches the ground and can’t spin freely anymore, but don’t remove the jack completely just yet.
Using the lug wrench, tighten each nut fully, still following that same crisscross pattern rather than moving around the wheel in a circle. If your vehicle has five lug nuts, for example, tighten one, then skip to the one roughly across from it.
Why the pattern matters: tightening in sequence around the wheel can pull it slightly off-center. A star pattern applies even pressure so the wheel seats properly against the hub.
If you own a torque wrench and know your vehicle’s specified torque value (check the manual), use it. Lug nuts that are too loose can let the wheel wobble; over-tightened ones can strip threads or warp brake rotors.
Once everything is snug, lower the jack the rest of the way and remove it. As a final check, give each lug nut one more pass with the wrench now that the full weight of the car is resting on the wheel — sometimes a nut that felt tight while the car was elevated can loosen slightly once the tire takes on the vehicle’s weight.
After the Spare Is Installed
Getting the spare on isn’t quite the finish line. Take a minute to check that the wheel looks properly seated and that every lug nut is tight. Stow the flat tire, jack, and wrench securely so they don’t shift around while you drive.
Quick checklist before you pull away:
- Spare is mounted flush and secure
- All lug nuts are tightened
- Jack and tools are fully removed from under the car
- Flat tire and equipment are stored safely
- Spare has adequate air pressure
- No new dashboard warning lights
- You know the spare’s speed and distance limits
When Should You Replace a Spare Tire?
Even a spare that’s never touched pavement can age out. Rubber degrades over time regardless of use, so a spare sitting in your trunk for a decade may not be trustworthy in an emergency. Check it periodically for cracking, dry rot, or low pressure, and follow your vehicle’s maintenance schedule for guidance on replacement timing.
Most tires, spares included, have a manufacture date molded into the sidewall — usually a four-digit code where the first two numbers are the week and the last two are the year. Many mechanics recommend replacing a spare around the 6- to 10-year mark, even if it looks fine, simply because rubber compounds break down with age and exposure to heat.
How Fast Can You Drive on a Spare Tire?
This depends entirely on what kind of spare you have.
| Spare Type | Typical Use | What to Know |
|---|---|---|
| Compact “donut” spare | Short-term emergency only | Usually limited to 50 mph and 50–70 miles |
| Full-size matching spare | Can perform like a regular tire | Confirm it matches your other tires |
| Full-size non-matching spare | Temporary use | Handling and traction may differ slightly |
A compact spare is not built for daily driving. It’s narrower, lighter, and designed to get you to a repair shop — not across the state. Always check the sidewall of the spare itself, since manufacturers print exact speed and mileage limits right on the tire.
Driving on a donut longer than recommended can also put extra strain on your vehicle’s drivetrain, particularly on all-wheel-drive models where the mismatched tire size can affect how power is distributed to each wheel. If you drive an AWD vehicle, it’s worth checking your manual for any special instructions, since some manufacturers recommend avoiding highway speeds altogether with a mismatched spare.
Common Mistakes to Avoid
Even a simple tire change can go sideways when you rush.
One frequent error is jacking up the car at the wrong point — vehicle frames and body panels aren’t interchangeable lifting spots, so stick to the manufacturer’s recommended location. Another is removing lug nuts before the car is properly lifted, which can let the wheel spin dangerously.
Plenty of drivers also forget that hand-tightening isn’t enough for actual driving; the lug nuts need a real final tightening once the car is back on the ground. And don’t push a temporary spare like it’s a full tire — high speeds and long distances aren’t what it’s built for.
Finally, don’t shrug off the flat tire itself. Get it inspected soon so you know whether it can be patched or needs to be replaced entirely.
When to Call Roadside Assistance
Knowing how to put on a spare tire is a genuinely useful skill, but it’s not always the right call in the moment. If you’re stopped somewhere unsafe, missing equipment, unsure where the jacking point is, or just not comfortable lifting the vehicle yourself, phone for help instead.
This goes double on high-speed roads, in bad weather, or if your car has unusual wheel hardware (locking lug nuts, for instance). If the spare doesn’t fit right, a lug nut looks stripped, or the wheel seems stuck, stop and get a professional involved. A few extra minutes of waiting beats a bigger problem down the road.
Frequently Asked Questions
Can I put on a spare tire myself? Yes, most drivers can handle it with the right tools and a safe spot to work. Just follow your owner’s manual for vehicle-specific steps.
Do I tighten the lug nuts before or after lowering the car? Hand-tighten while the car is raised, then do the final tightening once it’s back on the ground.
How long can I drive on a spare tire? It depends on the type — compact spares have strict speed and mileage limits printed right on the tire.
Can I drive normally with a donut spare? No. It’s meant for short-term use and can affect handling, so stick to its posted limits.
What if the spare tire won’t fit? Don’t force it. Something may be wrong with the wheel or spare, so call a tire professional.
Should I get my flat tire repaired right away? Yes — have it inspected soon so a shop can tell you if it’s repairable or needs replacing.
Is changing a tire on the road dangerous? It can be, especially near traffic. Pick a safe spot, use the right jacking point, and never work under a car held only by a jack.
Final Thoughts
Changing a tire comes down to a few core steps: secure the vehicle, loosen the nuts, jack it up, swap the tire, and tighten everything back down properly. Take your time, follow your spare’s limitations, and get your original tire looked at as soon as you can.