

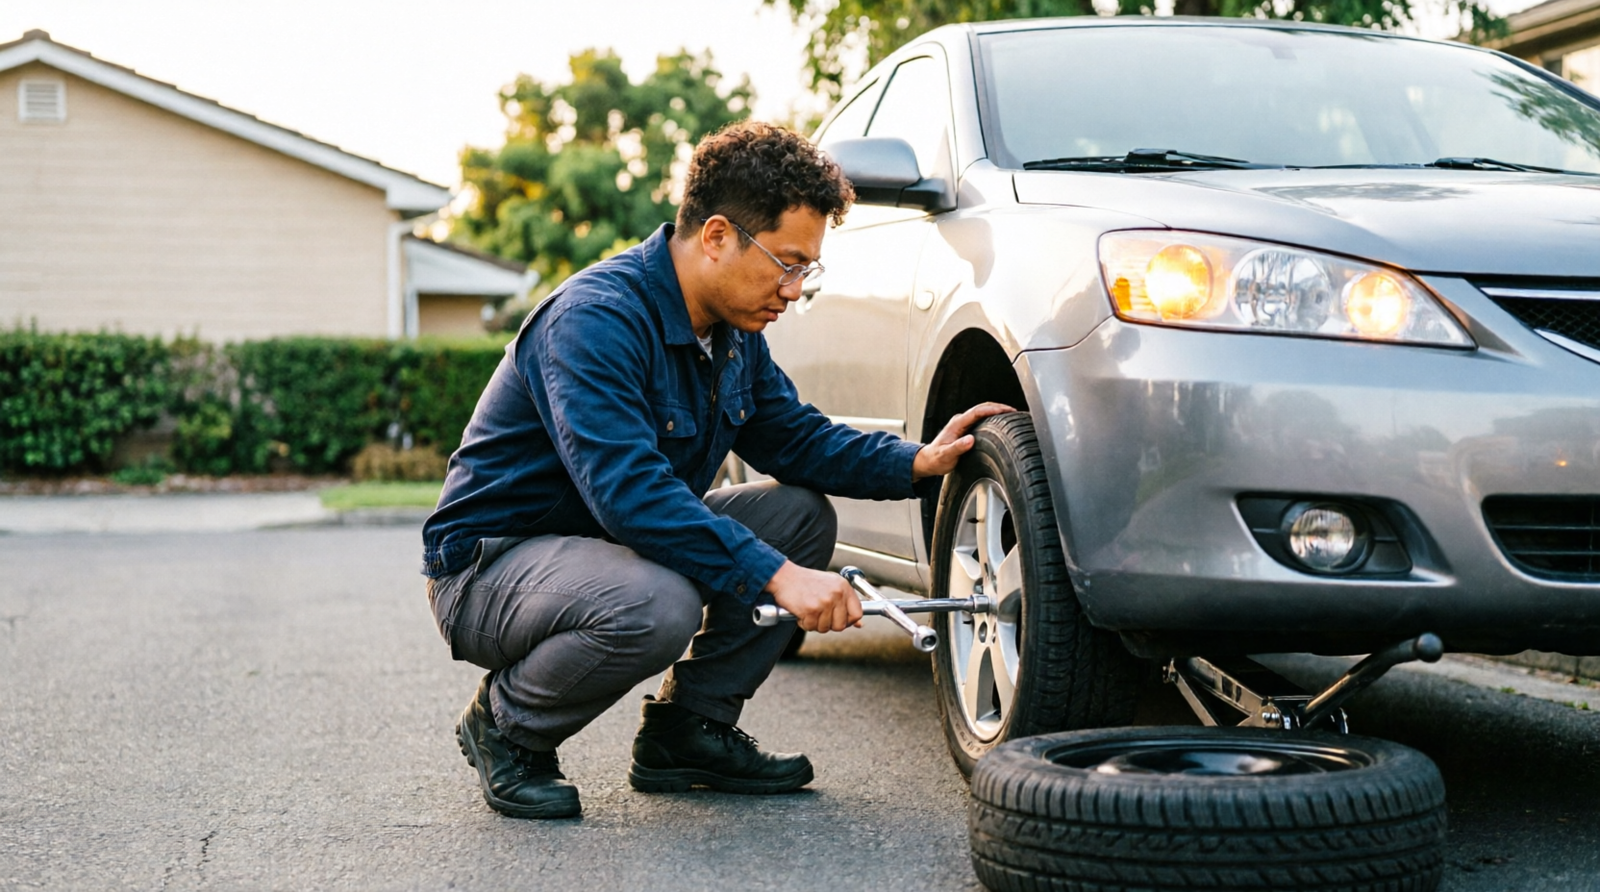
A flat tire always seems to happen at the worst possible moment. The good news is that knowing how to put a spare tire on can turn a stressful roadside moment into a quick, manageable fix. Here’s exactly how to do it safely, from securing your car to torquing the final lug nut.
What You Need to Put a Spare Tire On
Most vehicles that come with a spare also include a basic emergency kit. Before you lift anything, make sure you have these on hand.
| Tool | Purpose |
| Spare tire | Temporarily replaces the flat |
| Vehicle jack | Lifts the car off the ground |
| Lug wrench | Loosens and tightens lug nuts |
| Wheel wedges | Keep the car from rolling |
| Gloves | Protect hands from dirt and heat |
| Flashlight | Helpful in low-light conditions |
Check your owner’s manual, too — it shows the approved jack points and any vehicle-specific instructions. If your car doesn’t have a spare, it may instead include a tire-inflation kit or run-flat tires, so it’s worth knowing what your vehicle has before an emergency happens.
Preparing the Vehicle and Loosening the Lug Nuts
Step 1: Get to a Safe Spot Before You Do Anything
Safety comes before tools. If you feel a tire go flat while driving, slow down gradually and move away from traffic rather than stopping abruptly.
Once you’ve found a flat, firm surface to park on:
- Turn off the engine.
- Engage the parking brake.
- Turn on your hazard lights.
- Move passengers away from the work area.
- Place wheel wedges in front of or behind the appropriate tires.
- Locate your spare, jack, and lug wrench.
If you’re stuck on a busy highway or somewhere traffic is passing too close, don’t attempt the change yourself. Call roadside assistance instead — no tire is worth that risk.
Changing a Tire in Bad Weather
Rain, snow, or extreme heat all add an extra layer of difficulty. Wet pavement makes the jack more likely to shift, and cold hands make it harder to grip tools securely. If you can, wait for a lull in the weather or move to covered ground like a gas station canopy. Wearing gloves helps in both hot and cold conditions — they protect your hands from grease and give you a better grip on the lug wrench.
Step 2: Loosen the Lug Nuts While the Tire Is Still Down
It’s tempting to jack the car up first, but that makes this step much harder. With the tire still touching the ground, the car’s weight keeps the wheel from spinning as you work.
Remove the hubcap or wheel cover if your car has one, then fit the lug wrench securely over each lug nut and turn it counterclockwise. You don’t need to remove the nuts completely — just break them loose, roughly a quarter to half turn each.
If a nut won’t budge with reasonable effort, don’t stand on the wrench or improvise extra leverage. That’s a sign to call in a professional rather than risk an injury or a stripped bolt.
Jacking Up the Car Correctly
Step 3: Find the Correct Jacking Point
Every vehicle has designated jack points, usually reinforced sections along the frame or rocker panel. Your owner’s manual will show exactly where they are.
Never place the jack under the exhaust, suspension parts, or plastic trim. Doing so can damage your car or cause the jack to slip while it’s under load. Once you’ve found the right spot, make sure the jack’s base is sitting flat and stable on the ground.
Why the Jacking Point Actually Matters
A car is heavy, and an emergency jack is only rated to support that weight at specific points. Using the wrong spot doesn’t just risk damage — it can make the whole setup unstable. If the ground beneath you is soft, muddy, or sloped, it’s often smarter to wait for roadside help.
Step 4: Raise the Vehicle Slowly
With the lug nuts loosened and the jack positioned correctly, start lifting. Go slowly and follow the instructions in your owner’s manual — you only need to raise the flat tire a few inches off the ground, not as high as possible.
Before pulling the wheel off, double-check that:
- The jack is still sitting correctly.
- The car isn’t shifting or wobbling.
- The parking brake is still engaged.
- The tire has enough clearance to come off the hub.
- No one is anywhere underneath the vehicle.
If anything feels off, lower the car and reassess before continuing.
Removing the Flat and Installing the Spare
Step 5: Remove the Flat Tire
Finish unscrewing the lug nuts by hand and set them somewhere safe so they don’t roll into traffic. Then grip the tire with both hands and pull it straight toward you, off the hub.
Wheels are often heavier than people expect, especially on trucks and SUVs. If it feels unmanageable, it’s fine to ask someone nearby for help. Set the flat tire flat on its side, out of the way, and take a quick look at the exposed hub — just avoid touching any brake components, which can be hot after driving.
Step 6: Put the Spare Tire On
Line up the spare’s center opening and mounting holes with the wheel hub, then slide it into place until it sits flush. Thread each lug nut on by hand first, being careful not to cross-thread them.
Tighten the nuts in a crisscross pattern rather than working around the wheel in a circle — this spreads pressure evenly across the wheel. Hand-tight is enough for now; save full torque for after the car is back on the ground.
A Simple Crisscross Pattern for Five-Lug Wheels
- First lug nut
- The one directly opposite it
- Another nut across the wheel
- The next opposite nut
- The remaining lug nut
The exact order matters less than making sure you’re skipping across the wheel instead of going around it.
Lowering the Car and Final Tightening
Step 7: Lower the Car and Tighten the Lug Nuts
Lower the vehicle slowly until the spare touches the ground and takes on the car’s weight, then remove the jack. Now go back over each lug nut with the lug wrench, tightening firmly in the same crisscross pattern.
For the correct final tightness, check your owner’s manual for the torque specification and use a torque wrench if you have one. Cranking the nuts as hard as possible isn’t the goal — proper torque keeps the wheel secure without damaging the hardware. Give each nut one more check before you consider the job done.
What to Do After Installing the Spare Tire
Before you drive off, run through a quick post-installation check:
- Confirm every lug nut is fully installed.
- Make sure the spare looks properly seated.
- Pack up the jack and tools securely.
- Secure the flat tire so it doesn’t roll around in your trunk.
- Check the spare’s air pressure if you have a gauge.
- Remove the wheel wedges.
- Do a final walk-around to make sure nothing’s left near the car.
If your spare is a compact “donut,” check the sidewall and owner’s manual for its speed and distance limits. These temporary spares are built to get you to a repair shop, not to serve as a long-term replacement.
Compact Spare vs. Full-Size Spare vs. Run-Flat Tires
Not all spares are created equal, and knowing which type you have changes how you should drive afterward.
| Spare Type | Typical Use | What to Keep in Mind |
| Compact temporary spare | Short-term emergency use | Follow posted speed and distance limits |
| Full-size spare | Closer to a normal tire | Confirm it matches your vehicle’s specs |
| Run-flat tire | Drives on for a limited distance after a puncture | Follow the manufacturer’s mileage restrictions |
Mistakes That Turn a Flat Tire into a Bigger Problem
A simple tire change can go sideways if you rush through it. Some of the most common missteps:
- Jacking up the car before loosening the lug nuts. Once the wheel is off the ground, it spins freely instead of staying put, which makes it much harder to break the nuts loose.
- Placing the jack in the wrong spot. Anywhere other than the designated jacking point risks bending the frame or having the jack slip mid-lift.
- Crawling underneath the car. Emergency jacks are built to hold the vehicle just long enough to swap a wheel — they aren’t rated to support a person working underneath.
- Driving too far or too fast on a compact spare. These size and speed limits aren’t arbitrary; exceeding them can cause the spare to fail or damage your drivetrain on certain vehicles.
- Forgetting about the flat tire afterward. A spare is a temporary fix, not a repair. Get the original tire inspected as soon as you reasonably can so you’re not driving on the donut longer than necessary.
When You Should Call Roadside Assistance Instead
Changing your own tire isn’t always the right call. Consider phoning for help if:
- You’re stopped somewhere traffic is passing too close.
- The ground is unstable, muddy, or steeply sloped.
- You don’t have the right equipment.
- The lug nuts are damaged or won’t budge.
- The jack isn’t working properly.
- You’re simply not confident about where to place the jack.
A flat tire is annoying, but it’s never worth risking your safety to save a tow-truck fee.
How Long Can You Drive on a Spare Tire?
This depends entirely on the type of spare and your vehicle manufacturer’s guidance. A compact temporary spare is meant for short-term use only — check its sidewall and your owner’s manual for exact speed and mileage limits, and plan to get to a repair shop as soon as possible. Don’t assume it handles like your regular tire; its size and construction are different by design. A full-size spare has more flexibility, but you should still confirm it’s rated for your vehicle before treating it like a normal tire.
Does the Tire Pressure Light Stay On After a Spare Tire?
Many modern vehicles use a tire pressure monitoring system (TPMS) that tracks each wheel individually. Since most spares — especially compact donuts — don’t have a working sensor, it’s common for the dashboard warning light to stay on after you install one. That’s normal and doesn’t mean something is wrong with the spare itself.
Once you replace the spare with your repaired or new tire, the light should turn off on its own after a short drive. If it doesn’t, your vehicle may need the system reset manually, which most owner’s manuals walk through in a few steps. A quick trip to a tire shop can also take care of it if you’d rather not deal with the reset yourself.
Final Thoughts
Putting on a spare tire comes down to a simple sequence: secure the car, loosen the lug nuts, jack it up at the right point, swap the tire, lower the car, and torque everything down properly. The most important part isn’t speed — it’s safety. If the location, equipment, or situation doesn’t feel right, calling roadside assistance is always the smarter move. And once the spare is on, treat it as a temporary fix until your original tire is inspected or replaced.
FAQs About Putting on a Spare Tire
Can I put a spare tire on myself?
Yes, most drivers can do this safely with the right tools and a level, safe location. Always follow your owner’s manual for vehicle-specific steps.
Do I loosen the lug nuts before or after jacking up the car?
Before. Loosening them while the tire is still on the ground keeps the wheel from spinning as you work.
How tight should the lug nuts be?
Tighten to the torque spec listed in your owner’s manual, ideally using a torque wrench for accuracy.
Can I drive normally once the spare is on?
Not with a compact spare — it has specific speed and distance limits printed on its sidewall.
How long can I use a temporary spare?
Only long enough to reach a repair shop. Exact limits vary by vehicle, so check your manual.
What if my lug nuts won’t come off?
Don’t force them with unsafe methods. Roadside assistance has the right equipment to remove stubborn hardware.
What should I do with the flat tire afterward?
Store it securely in your trunk and have a tire professional inspect it to see if it can be repaired or needs replacing.