

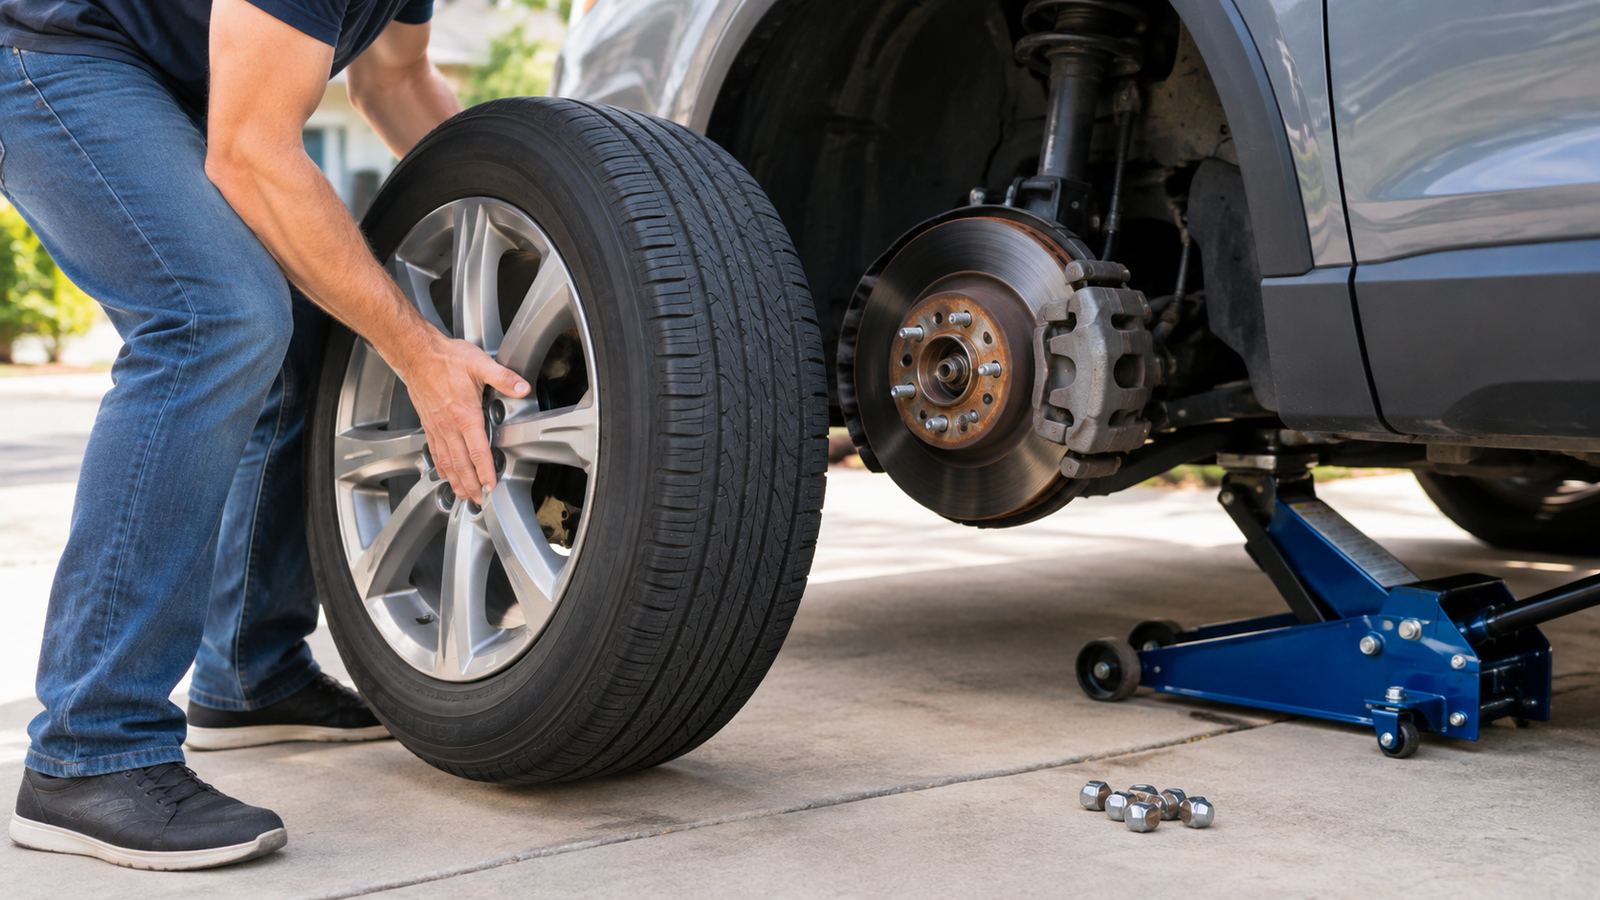
Whether you’re stuck with a flat tire on the shoulder of the highway or getting ready to mount a new set of tires, learning how to get a tire off is a genuinely useful skill. The tricky part is that “removing a tire” usually means one of two different jobs: taking the whole wheel off the car, or separating the rubber tire from the metal rim underneath it. This guide covers both, along with the tools, safety steps, and tips that make the job go smoothly. It’s one of those tasks that looks intimidating the first time but becomes second nature once you’ve done it once or twice.
What “Getting a Tire Off” Actually Means
Before grabbing any tools, it helps to figure out which job you’re actually facing, because the two get confused all the time.
Removing the wheel from the vehicle means unbolting the entire wheel-and-tire assembly and lifting it off the car. This is what you’d do to swap in a spare after a flat, rotate your tires, or get a better look at the brakes.
Removing the tire from the rim means peeling the rubber tire away from the metal wheel itself. You’d only need to go this far if you’re replacing a worn-out tire, dealing with certain sidewall or bead issues, or mounting a different tire onto an existing wheel.
Here’s how the two compare:
| Task | What’s Involved | Tools Needed | Difficulty |
| Remove wheel from car | Unbolt and lift off the whole assembly | Jack, lug wrench, wheel chocks | Easy to moderate |
| Remove tire from rim | Separate rubber tire from metal wheel | Bead breaker, tire irons, lubricant | Difficult |
| Machine-assisted removal | Shop equipment does the heavy lifting | Tire changer, balancer | Best for professionals |
If you’ve just got a flat and need to put on your spare, good news — you almost never need to take the tire off the rim. That’s a separate, more involved job.
Most drivers only ever deal with the first row of that table. The second and third rows only come into play when you’re actually replacing a tire rather than just changing one out for a spare on the road.
Tools You’ll Need
The gear you need depends entirely on which job you’re doing. Before buying anything, check what’s already stashed in your trunk — most vehicles come with a basic jack and lug wrench built in.
For Removing the Wheel
- Vehicle jack
- Lug wrench
- Wheel chocks
- Gloves
- Flashlight (if it’s dark out)
- Spare tire or replacement wheel
- Torque wrench for reinstalling
For Taking the Tire Off the Rim
- Bead breaker
- Tire irons
- Tire mounting lubricant
- Valve-core removal tool
- Air compressor and pressure gauge
- Tire-changing machine, if you have access to one
One note worth repeating: the compact emergency jack that comes with most cars is built for short-term lifting, not for holding up the vehicle while you work underneath it. Use jack stands for anything beyond a quick wheel swap.
Step 1: Park the Vehicle Safely
Good tire removal starts before you touch a single bolt.
Pull onto a flat, solid surface away from traffic. Shift into Park (or leave a manual transmission in gear), and set the parking brake. Then chock the wheels that will stay on the ground so the car can’t roll while it’s jacked up.
Avoid soft ground like grass, gravel, or a sloped driveway — a jack can sink or tip under load on anything less stable than solid pavement or concrete.
If you’re dealing with a flat on the side of the road, get as far from traffic as you safely can and flip on your hazard lights. Working close to moving cars is one of the biggest risks in this entire process — don’t rush it.
Step 2: Loosen the Lug Nuts Before You Jack Up the Car
With the vehicle still on the ground, pop off the hubcap if there is one and fit your lug wrench snugly onto each lug nut. Turn counterclockwise just enough to break the initial resistance — you don’t need to remove them yet.
Loosening them now matters because once the tire is off the ground, it’ll spin freely and make loosening tight nuts much harder. If a nut is really stuck, make sure the wrench is fully seated before you lean into it; jumping on the wrench can send you off balance or strip the nut.
Step 3: Jack Up the Vehicle at the Right Spot
Check your owner’s manual for the manufacturer’s approved jack point — every vehicle is a little different, and guessing wrong can damage the frame or cause the jack to slip.
Set the jack on firm, level ground, and raise the car slowly until the tire just clears the pavement. You don’t need much clearance, just enough to pull the wheel free.
Why the Jack Point Matters
Cars are built with specific reinforced spots designed to handle a jack’s load. Lifting from the wrong spot — a rocker panel, an axle, or some other unsupported area — can bend metal or damage the suspension. Most jack points sit along the frame rail and are marked with a small notch or arrow, but they vary even between trims of the same model, so don’t assume last year’s sedan matches this year’s. When in doubt, the manual beats a guess every time.
Step 4: Take the Wheel Off
Once the tire is clear of the ground, finish removing the lug nuts by hand and set them somewhere safe where they won’t roll away or pick up dirt. Wheels are heavier than they look, especially on trucks and SUVs, so keep your knees bent and lift with your legs rather than your back.
Grip the wheel with both hands and pull it straight toward you. If it doesn’t budge right away, it may be corroded to the hub. Rocking it gently side to side usually breaks it loose — just keep your body clear of the vehicle while you do it.
Once it’s free, set the wheel flat in a spot where it can’t roll off. At this stage, the wheel is off the car, but the tire is still mounted on the rim.
How to Separate the Tire From the Rim
This is where things get more involved. Taking a tire off its rim requires more force, more tools, and more patience than pulling a wheel off a car. It’s also the point where a lot of home mechanics decide the trip to a tire shop is worth the money — and that’s a completely reasonable call.
Breaking the Bead
Start by removing the valve core to let all the air out completely — never try to break a bead on a tire that still has pressure in it. Once it’s fully flat, apply tire lubricant around the bead (the point where the tire seals against the rim).
Using a bead breaker, work your way around the tire gradually rather than forcing one spot. Once the bead pops loose on one side, flip the wheel and repeat on the other. This step alone can take real effort by hand, so don’t be discouraged if it takes a few tries before the bead lets go.
Working the Tire Over the Rim
With both beads broken, lay the wheel flat and slide a tire iron between the bead and the rim edge. Lift a small section of the bead over the rim, then insert a second iron a few inches further along and keep working your way around.
Push down on the opposite side of the tire into the rim’s drop center as you go — that dip gives you the slack you need to walk the bead over. Take it in small sections rather than trying to force a big chunk at once.
Once the first bead clears the rim, repeat the process for the second one. After that, the tire should lift right off. Stiff sidewalls, run-flats, and low-profile tires are notoriously harder to do by hand, so don’t be surprised if those need a shop’s machine instead.
When to Let a Tire Shop Handle It
DIY tire removal isn’t always the right call. Consider heading to a shop if:
- You’re dealing with a run-flat or very stiff low-profile tire
- The wheel is expensive, delicate, or easy to scratch
- There’s a TPMS sensor you’re worried about damaging
- The bead simply won’t break loose with your tools
- You don’t have a proper bead breaker on hand
- You’re working with a large truck tire or something out of the ordinary
- The tire looks severely damaged and you’re unsure it’s safe to reuse
A tire that’s been driven flat for any distance can also hide internal damage that’s not visible from the outside, so when in doubt, get it checked. Keep in mind that a shop visit to mount and balance a single tire is usually inexpensive compared to the cost of a damaged wheel or a wrecked bead.
Putting the Wheel Back On the Right Way
If you removed the whole wheel, take a second to wipe down the hub and mounting surface before reinstalling. Set the wheel back onto the hub, and thread the lug nuts on by hand first to avoid cross-threading.
Tighten them gradually in a crisscross pattern rather than cranking one down all the way before moving to the next — this seats the wheel evenly. Lower the car until the tire touches the ground, then finish tightening with a torque wrench, using the spec listed in your owner’s manual.
Once it’s on, double-check the tire pressure against the number on your driver’s door-jamb sticker. Correct torque and pressure both matter more than they might seem — over-tightened lug nuts can snap studs, and under-tightened ones can work themselves loose over time. It’s also worth rechecking the lug nuts after driving a few miles, since a freshly mounted wheel can settle slightly and loosen the initial torque.
Common Mistakes That Cause Problems
Most tire-removal headaches trace back to a handful of avoidable errors:
| Mistake | Why It’s a Problem |
| Using the wrong jack point | Can damage the vehicle or destabilize the jack |
| Working on uneven ground | Jack can shift or tip mid-lift |
| Removing lug nuts before loosening them | Wheel spins freely once it’s off the ground |
| Treating the jack as permanent support | Jacks lift; they don’t hold weight safely |
| Skipping the deflation step | Breaking a bead under pressure is dangerous |
| Using screwdrivers instead of tire irons | Can slip and gouge the rim or tire |
| Ignoring corrosion | Forcing a stuck wheel risks injury |
| Skipping the final torque check | Loose or over-tightened lug nuts cause long-term issues |
Most of these come down to rushing. Slowing down at each step is really the difference between a clean tire change and a frustrating one.
For a standard flat, all you really need is the wheel-removal process — jack it up, swap the spare on, and get back on the road. Save the rim-to-tire separation for actual tire replacements, and don’t hesitate to call a shop when the job calls for equipment you don’t have on hand.
FAQs
Can I remove a tire myself?
Yes — removing the whole wheel just takes a jack and lug wrench. Taking the tire off the rim is harder and usually needs specialized tools.
Do I need to take the tire off the rim to fix a flat?
No. For a standard flat, you remove the entire wheel and swap in your spare — no need to separate the tire from the rim.
Why won’t my wheel come off after removing the lug nuts?
It’s likely corroded to the hub. Rock it gently from side to side to break it loose, but stay clear of the vehicle while you do.
Is it safe to work under a car supported only by a jack?
No. A jack is for lifting only — always use rated jack stands if you need to stay under the vehicle for any length of time.
How do you get a tire off a rim without a machine?
With a bead breaker, tire irons, and lubricant, though it takes real effort and care. Improvised tools can easily damage the tire or wheel.
Do I need a torque wrench to reinstall a wheel?
Yes, ideally. Tightening lug nuts to the manufacturer’s spec keeps the wheel secure without risking damaged studs from over-tightening.
When should I just take my tire to a shop?
If the bead won’t break, the wheel is expensive, or the tire has a TPMS sensor, it’s usually worth letting a professional handle it.