

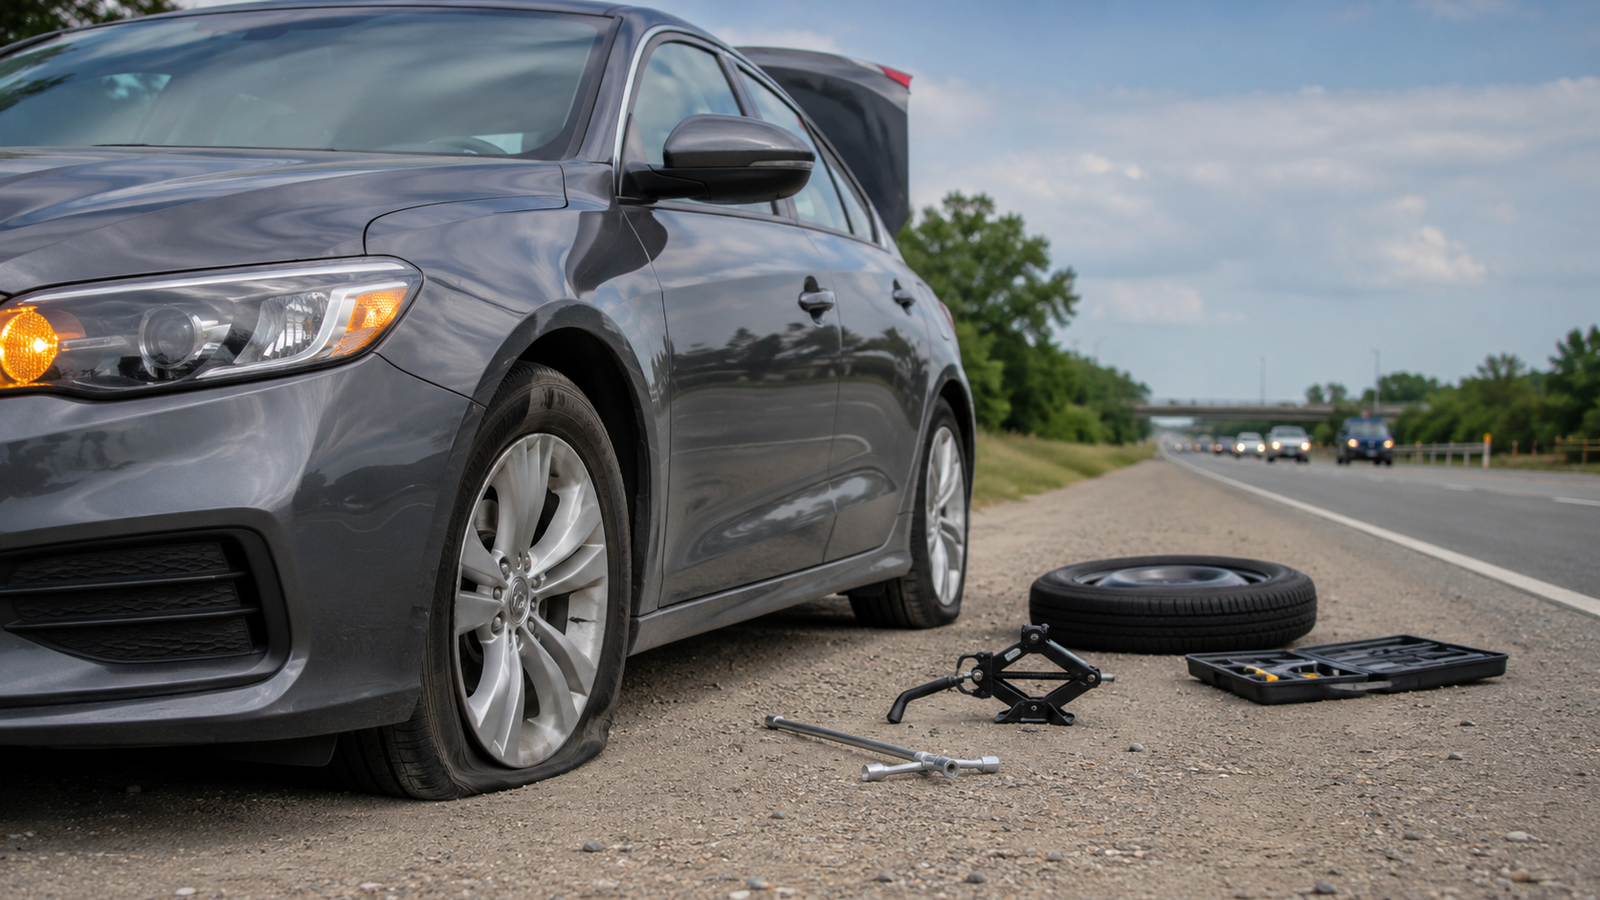
A flat tire has a way of showing up at the worst possible moment — mid-commute, halfway through a road trip, or right as you’re backing out of the driveway. Waiting for roadside assistance isn’t always realistic, and the good news is that you probably don’t need to. Once you know the basic steps to change a flat tire, the whole job takes less time than a coffee run.
Here’s exactly what to do, from the moment you feel that first wobble to the moment you’re safely back on the road.
1. Pull Over Somewhere Safe

Before you think about tools or spare tires, get yourself and your passengers out of harm’s way.
If you feel the tire losing air while driving, resist the urge to brake hard or yank the wheel. Ease off the gas, grip the wheel with both hands, and flip on your hazard lights. Then look for the safest spot to stop — ideally a flat, firm surface well away from moving traffic, like a parking lot or a wide shoulder.
Try to avoid stopping in these spots if you have any other choice:
- Soft grass, mud, or loose gravel
- A steep incline
- Just past a blind curve
- Right next to fast-moving traffic
- Uneven or unstable ground
Once you’ve parked, shift into Park (or first gear for a manual), set the parking brake, and leave your hazards on. If you’re stuck on a busy interstate with nowhere safe to pull off, it’s often smarter to stay buckled in and call for help rather than attempt the change yourself.
2. Gather the Tools You’ll Need
Most cars that come with a spare also come with everything you need to install it, usually tucked under the trunk floor or bolted beneath the vehicle.
| Tool | What It’s For |
| Spare tire | Temporary replacement for the damaged tire |
| Jack | Lifts the car so the wheel can be removed |
| Lug wrench | Loosens and tightens the lug nuts |
| Wheel wedges | Keep the car from rolling while it’s jacked up |
| Gloves | Keep your hands clean and protected |
| Flashlight | Essential if you’re changing a tire after dark |
| Owner’s manual | Shows jack points and any model-specific steps |
Not every vehicle has a traditional spare — some come with run-flat tires, a sealant kit, or a small air compressor instead. Take a minute to check your owner’s manual before you start; it’ll tell you where the spare lives, where the jack points are, and whether your car needs a different approach entirely. If your wheels have locking lug nuts, don’t forget the key for those, too — it’s often stored separately from the rest of the toolkit.
3. Secure the Vehicle Before You Jack It Up
With your tools in hand, focus on making the car as stable as possible before you lift it.
Set the parking brake firmly, then wedge blocks, wheel chocks, or even a couple of heavy rocks against the tires that will stay on the ground. If the flat is on the front passenger side, for instance, chock the rear tire on that same side to stop the car from rolling forward or back.
Pull out the spare, jack, and lug wrench and set them within easy reach so you’re not hunting around once the car is off the ground.
Check the Spare Before You Rely on It
Give the spare a quick once-over before you install it. Look for obvious damage and confirm it’s holding air — a spare that’s been sitting untouched for years can quietly lose pressure even if it’s never been driven on.
If your car uses a compact “donut” spare, keep in mind it’s built for short-term use only. Most have a speed and mileage limit printed right on the sidewall.
| Spare Type | Typical Speed Limit | Typical Distance Limit |
| Full-size spare | Same as regular tires | No specific limit |
| Compact “donut” spare | 50 mph | 50–70 miles |
4. Loosen the Lug Nuts
Do this step before you lift the car — the tire’s grip on the ground is what keeps the wheel from spinning freely while you work on it.
Fit the lug wrench snugly over one lug nut and turn it counterclockwise. It may take real muscle, especially if the nuts were last tightened with an impact wrench at a shop. Work your way around the wheel in a crisscross pattern, loosening each nut about a quarter turn rather than removing any of them completely.
Don’t Stand on the Wrench
If a nut won’t budge, resist the temptation to jump on the wrench or throw your full body weight into it — that’s a fast way to lose your balance or strip the nut. A longer-handled wrench (or a length of pipe slid over the handle for extra leverage) is a safer fix, as long as it’s rated for the job.
5. Jack Up the Car
Check your owner’s manual for the correct jacking point — most vehicles have a reinforced spot along the rocker panel or frame built specifically for this. Jacking up the car anywhere else can dent the body or make the whole setup unstable.
Set the jack on firm, level ground directly beneath that point and start raising the car slowly. Keep an eye on it as it lifts — if the jack starts to lean, sink into the ground, or wobble, stop immediately and lower the car back down before trying again.
How High Is High Enough?
You only need to raise the flat tire about 1 to 2 inches off the ground — just enough clearance to pull it off and slide the spare on. Lifting the car higher than necessary only adds instability for no real benefit.
One rule that’s worth repeating: never put any part of your body under a car that’s being held up by a jack alone. A jack lifts; it doesn’t hold. That’s not what it’s designed for.
6. Swap the Flat Tire for the Spare
With the wheel off the ground, finish removing the lug nuts you loosened earlier and set them somewhere clean — a cup holder or your pocket works fine, as long as they won’t roll away or pick up dirt.
Grip the tire with both hands and pull it straight toward you. If it’s stuck to the hub from rust or corrosion, a firm, steady tug usually does the trick — just don’t force it by getting underneath the car. While the wheel is off, take a quick look at the hub and surrounding area. Fluid leaks, cracked components, or obvious damage are good reasons to stop and call a professional instead of continuing.
Line up the spare’s center hole with the wheel hub and push it into place until it sits flush. Thread each lug nut on by hand first to avoid cross-threading, then snug them with the wrench — but don’t crank them down with full force just yet. The car is still up on the jack, so save the final tightening for after it’s back on the ground.
Tighten in a Star Pattern
Instead of working around the wheel in a circle, tighten opposite lug nuts in sequence — like the points of a star. On a five-lug wheel, that means one nut, then the one roughly across from it, and so on. This pulls the wheel evenly onto the hub instead of pulling it off-center.
7. Lower the Car and Do the Final Tightening
Slowly lower the car with the jack until the spare is firmly planted on the ground, then slide the jack out from underneath.
Now go back over the lug nuts with the wrench and tighten them the rest of the way, still following that star pattern. If you have a torque wrench, use it and tighten to the exact spec listed in your owner’s manual — under-tightened lug nuts can let the wheel shift, while over-tightening can damage the studs. Once you’ve made a full pass, go around a second time just to double-check nothing was missed.
8. Run Through a Quick Safety Check
Before you pack up and drive off, take thirty seconds to confirm:
- Every lug nut is on and tightened
- The spare is seated flush against the hub
- The jack and wrench are out from under the car
- The damaged tire is loaded into the trunk
- The parking brake is released
- The spare has enough air pressure to drive on
- Nothing — tools, lug nuts, wedges — is left behind on the road
If you’re rolling on a temporary spare, check the sidewall one more time for its speed limit before you pull out. Most compact spares aren’t built for highway speeds, and pushing past their limits can wear them out fast or even cause a second flat.
9. After the Tire Change: What Comes Next
Getting the spare on is only half the job. What you do in the days after matters just as much.
Check Your Tire Pressure
As soon as you’re somewhere safe, check the pressure in the spare and the other three tires. Use the number on the sticker inside your driver’s door jamb, not the maximum figure printed on the tire’s sidewall — that’s a ceiling, not a target. If you’re running a full-size spare long-term, make sure it’s properly inflated before treating it like a regular tire.
Get the Damaged Tire Looked At
Don’t put off dealing with the original tire, especially if you’re on a temporary spare. A small, repairable puncture in the tread can often be patched by a tire shop. Damage to the sidewall, or a tire that was driven on while badly underinflated, usually means it needs to be replaced instead. Once that’s sorted, put the spare back in its storage spot so it’s ready the next time you need it — and check its pressure every few months so it doesn’t catch you off guard again.
10. When to Skip the DIY Fix and Call for Help
Knowing how to change a tire is a genuinely useful skill, but it isn’t the right call in every situation. Consider phoning roadside assistance instead if:
- You’re stuck somewhere with fast-moving traffic nearby
- The car is parked on a steep slope
- The ground is muddy, sandy, or otherwise unstable
- You don’t have the right jack, or can’t find the correct jacking point
- The wheel, hub, or suspension looks damaged
- Your spare is missing, flat, or damaged
- You’re dealing with a flat on a large truck or commercial vehicle
- You’re not physically able to do the job safely
There’s no prize for changing a tire yourself in a genuinely unsafe spot. A technician can be there in a fraction of the time it takes to argue yourself into a risky repair.
Frequently Asked Questions
How long does changing a flat tire usually take?
Most drivers can do it in 15 to 30 minutes once they’ve got the hang of it. Your first time will likely take a bit longer.
Is it safe to change a tire on the highway shoulder?
Only if you can get well clear of moving traffic. If the shoulder is narrow or traffic is fast, staying in the car and calling for help is the safer choice.
How far can I drive on a spare tire?
It depends on the type. Compact “donut” spares usually top out around 50–70 miles, while full-size spares have no set limit — check your owner’s manual to be sure.
Does a flat tire always need to be replaced?
Not always. A small tread puncture can often be repaired, but sidewall damage or a tire driven while badly underinflated typically needs a full replacement.
Should I use a torque wrench to tighten the lug nuts?
Yes, if you have access to one. It lets you hit the exact torque spec your manufacturer recommends, which protects both the wheel and the studs.
Why won’t my flat tire come off after I remove the lug nuts?
It’s likely stuck to the hub from rust or corrosion. Don’t crawl underneath to force it — a firm, steady pull usually works, and a shop can help if it doesn’t.
How often should I check my spare’s air pressure?
Check it alongside your regular tires, especially before any long road trip. Spares lose pressure over time even when they’re never used.
Conclusion
Once you’ve run through the steps to change a flat tire a single time, it stops feeling like an emergency and starts feeling like routine maintenance. Find a safe spot, work through the process methodically, and don’t hesitate to call for help if conditions aren’t in your favor. Your safety is worth more than saving twenty minutes.