


Nobody plans for a flat tire. It happens on the way to work, halfway through a road trip, or right as you’re pulling out of a parking lot — and it always feels like the worst possible timing. The good news is that most cars still come with a spare and a basic tool kit, and changing a wheel yourself isn’t nearly as intimidating as it looks once you know the order of operations. Here’s how to do it properly, without damaging your car or putting yourself in danger.
What You’ll Need Before You Start
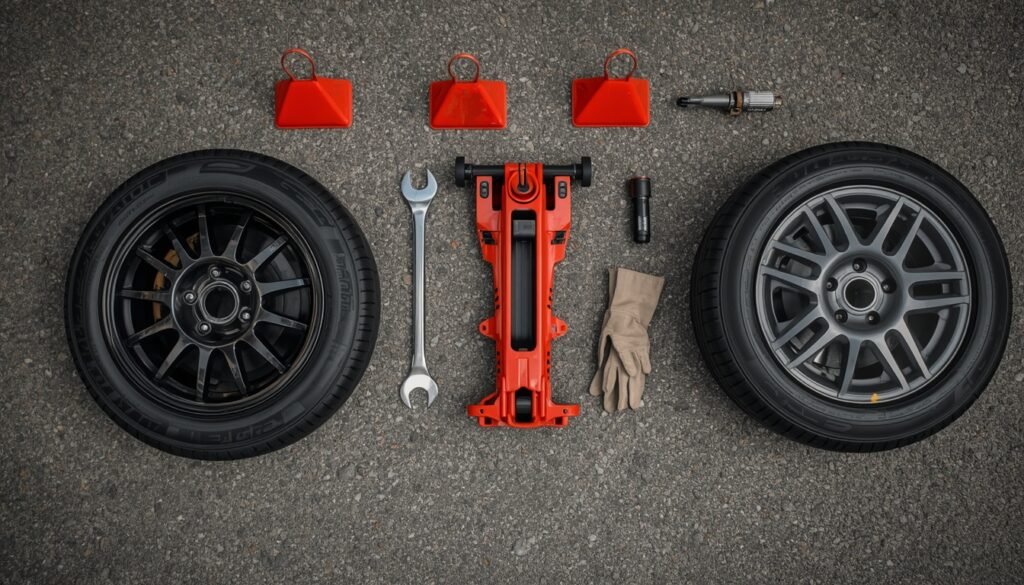
Before you even think about lifting the car, take a minute to gather what you’ll actually need. Most vehicles come with a factory kit tucked into the trunk or bolted underneath the chassis, but it’s worth double-checking rather than assuming.
At a minimum, you’ll want:
- A spare tire (full-size or temporary “donut”)
- A vehicle jack
- A lug wrench
- Wheel chocks — or bricks, large rocks, anything that stops the car from rolling
- Your owner’s manual
- A flashlight if it’s dark out
- Work gloves, if you have a pair handy
Some vehicles throw in extras like a jack handle, a locking lug nut key, or a special bracket that holds the spare in its compartment. If your car has locking lug nuts and you can’t find the key, that alone can turn a five-minute job into a headache, so it’s worth locating everything before you’re actually stuck on the roadside.
Check Your Spare Before You Need It
Here’s something a lot of drivers skip: actually checking the spare tire before an emergency happens. Temporary spares especially have a habit of losing air over months of sitting untouched, even without a leak — it’s just a small amount of pressure escaping slowly through the rubber over time. Pull it out every few months, check the pressure against the number printed on the sidewall or listed in your manual, and give it a quick visual once-over for cracking or dry rot. A spare that’s been baking in a hot trunk for six years isn’t always as reliable as you’d hope.
Is It Actually Safe to Change a Tire Yourself?
For most people, in most situations, yes — this is a job you can do on your own without any special training. What actually determines the risk isn’t your mechanical skill, though; it’s where your car ends up stopped. A flat that happens in a quiet neighborhood or a shopping center lot is about as low-stakes as car trouble gets. A flat on a narrow highway shoulder, a blind curve, or a bridge is a completely different situation, and no amount of confidence with a lug wrench makes that safer.
If you can’t get the car somewhere stable and away from traffic, don’t try to power through the repair anyway. Keep your hazard lights on, stay in the car with your seatbelt on if traffic is passing close, and call roadside assistance. It’s not worth the risk to save yourself a tow truck fee.
Before You Touch a Single Tool
Shift into Park if you’re driving an automatic, or into first or reverse with the parking brake engaged if you’re in a manual. Turn your hazards on right away — even before you get out to look at the damage. If you’re parked on level ground, wedge chocks against the wheels that will stay grounded so the car can’t roll while you’re working underneath it. And whatever you do, never get underneath a vehicle that’s only being held up by the factory jack. It’s designed to hold the car steady for a wheel swap, not to support your body weight while you crawl around.
Step 1: Find a Safe Place to Stop
If you feel a tire go while you’re driving, don’t slam on the brakes — that’s actually one of the more dangerous reactions you can have. Ease off the accelerator and let the car slow down naturally while you keep a firm, steady grip on the wheel. You’re looking for anywhere flat and stable: a parking lot, a wide shoulder, even a quiet side street beats trying to change a tire on a busy road.
Once you’ve stopped, flip on your hazards immediately. Take a second to actually look around before getting out — is traffic close? Is the ground stable? If the spot you’ve landed in feels unsafe or you genuinely can’t move the car anywhere better, this is the point where calling for help beats attempting the fix yourself.
Step 2: Gather Your Tools and the Spare
With the car parked and secured, go ahead and pull everything out — the spare, the jack, and the lug wrench. Where the spare lives depends heavily on the vehicle: sedans usually keep it under the trunk floor, trucks and some SUVs mount it underneath the rear frame, and certain SUVs bolt it right onto the back door.
Lay your tools out somewhere you can reach them easily. It sounds like a small thing, but fumbling around for a dropped lug nut or a jack handle you set down somewhere is far more annoying once the car is already jacked up. Your owner’s manual usually has a diagram showing exactly where the jack point and spare compartment are located, which is worth a quick glance if this is your first time doing this on a particular vehicle.
Step 3: Loosen the Lug Nuts While the Tire Is Still Grounded
This is a step people sometimes get backwards, and it makes the whole job harder if you do. Before you raise the car at all, use the lug wrench to break the initial resistance on each lug nut — just enough movement to loosen it, not a full removal. Turn counterclockwise.
The reason this matters: while the tire is still touching the ground, friction keeps it from spinning as you apply force. Once the wheel is in the air, it’ll just rotate freely instead of loosening, which makes the whole process far more frustrating.
If a lug nut refuses to budge, resist the urge to muscle through it with everything you’ve got — you can strip the nut or snap the wrench. If your car uses locking lug nuts, make sure you’re using the correct key rather than guessing. And if a nut simply won’t move no matter what you try, that’s a reasonable point to call roadside assistance rather than risk hurting yourself or damaging the wheel.
Step 4: Position the Jack Correctly
This step probably matters more than any other, because getting it wrong can genuinely damage your car or cause the jack to slip while it’s in the air. Every vehicle has a specific, manufacturer-designated jack point — usually a reinforced section of the frame near the wheel you’re working on — and it’s rarely obvious just by looking. Check your owner’s manual if you have any doubt at all.
Set the jack on firm, level ground, and line it up carefully against that point. Don’t improvise and place it under the exhaust, a suspension component, or random sections of the body panel — those aren’t built to bear the car’s weight and can bend, crack, or slip out from under the vehicle.
Step 5: Raise the Vehicle and Remove the Flat
Pump the jack slowly and steadily until the flat tire just clears the ground. You don’t need a lot of height here — just enough room to pull the damaged tire off and slide the spare on. The higher you lift the car, the more unstable it becomes, so resist the temptation to crank it way up “just to be safe.”
Once the tire is airborne, finish removing the lug nuts by hand and set them somewhere secure — a cupholder, a pocket, anything that isn’t loose gravel where they can roll away. Grip the tire firmly and pull it straight toward you. If corrosion has it stuck to the hub, you may need to wiggle it a bit to break it free.
Step 6: Mount the Spare and Tighten in a Star Pattern
Lift the spare into place, lining up the center hole with the wheel hub, and push it flush against the mounting surface. Thread each lug nut on by hand first — this prevents cross-threading, which is a much bigger headache to fix than it is to avoid. Once they’re all started, tighten them by hand as far as they’ll go.
Now comes the part people often get wrong: don’t crank one lug nut down all the way before moving to the next. Instead, tighten opposite lugs in sequence, working in a star or crisscross pattern rather than going around the wheel in a circle. This keeps the wheel seated evenly.
| Order | Position |
| 1 | Top |
| 2 | Bottom-left |
| 3 | Bottom-right |
| 4 | Top-left |
| 5 | Top-right |
The exact sequence doesn’t matter as much as the principle: alternate between opposite sides rather than tightening in a circle.
Step 7: Lower the Vehicle and Finish the Job
Slowly lower the car with the jack until the spare is firmly planted on the ground, then remove the jack entirely. Don’t drive off yet, though — go back over every lug nut with the wrench, tightening fully in that same star pattern. If you happen to own a torque wrench, use it here and tighten to the spec listed in your owner’s manual. Getting this right matters more than people realize: over-tighten and you risk warping or stripping the wheel hardware, under-tighten and the wheel can work itself loose while you’re driving.
Before you pack up, do a quick final check — every lug nut installed, the spare looking properly inflated, the jack and tools cleared away, and the damaged tire safely stowed rather than left rolling around your trunk.
Temporary Spare vs. Full-Size Spare
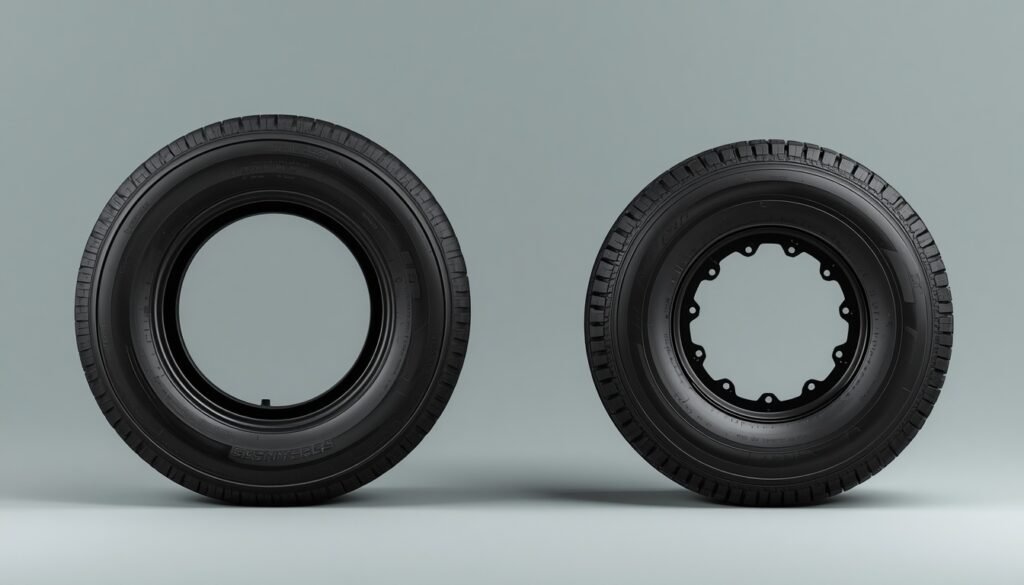
Not every spare tire is meant to be treated the same way once it’s on your car, and mixing that up is a common mistake.
| Spare Type | Best For | Key Consideration |
| Full-size spare | Extended or normal driving | Often fine for regular use if it matches your other tires |
| Temporary spare (“donut”) | Short trips to a repair shop | Stick closely to the printed speed and mileage limits |
| Run-flat tire | Continued driving after air loss | Follow the manufacturer’s specific distance and speed guidance |
Most donuts top out around 50 mph and are only rated for a limited number of miles, but that number varies by tire, so check the sidewall of your actual spare rather than assuming. These are built to get you to a shop safely, not to become your regular tire for the next few weeks.
Common Mistakes That Turn an Easy Job Into a Bad One
A handful of missteps account for most of the trouble people run into:
- Jacking up the wrong spot. Always use the manufacturer’s designated point — guessing can damage the car.
- Removing lug nuts before loosening them on the ground. The wheel will just spin once it’s off the ground, making removal much harder.
- Getting underneath the car. A factory jack isn’t a stand-in for proper jack stands.
- Over-tightening out of caution. Standing on the wrench for extra leverage can strip the studs or crack the nut.
- Ignoring the donut’s speed limit. Temporary spares handle noticeably differently at higher speeds.
- Forgetting to actually replace the flat. Driving around on a spare for weeks turns a minor repair into a bigger risk.
When to Skip the DIY Fix and Call for Help
Sometimes the smarter move is waiting for a professional rather than pushing through it yourself. It’s worth calling roadside assistance if:
- You’re stopped somewhere traffic passes uncomfortably close
- The ground is muddy, sloped, or otherwise unstable
- Your jack or lug wrench is missing, broken, or the wrong size
- The lug nuts won’t budge no matter what you try
- The vehicle has visible damage from an accident
- You just don’t feel confident doing it, for any reason
There’s genuinely no shame in making that call. A rushed tire change in a bad location is riskier than the flat tire itself.
After the Spare Is On
Treat the spare as a stopgap rather than a permanent fix, unless it’s a full-size spare that matches the rest of your tires. Get to a tire shop as soon as it’s reasonably convenient so someone can look over the damaged tire — a straightforward puncture in the tread is often repairable, while sidewall damage or major tread separation usually means the tire needs replacing entirely. If you had to lean on a donut, don’t put off swapping it for a real tire; it’s not built for the long haul.
Conclusion
Changing a spare wheel comes down to a handful of steps done in the right order: stop somewhere genuinely safe, loosen the lug nuts before you lift the car, use the correct jack point, and tighten everything back down in a star pattern. Keep your spare and tools in decent shape ahead of time, and a flat tire turns into a minor delay instead of a stressful ordeal.
FAQs
How long does changing a spare tire usually take?
Roughly 15 to 30 minutes once you know what you’re doing. Your first attempt will probably take longer, especially if the lug nuts fight you.
Is it safe to change a tire on the highway shoulder?
Only if you’re genuinely clear of moving traffic. On a narrow or busy shoulder, it’s safer to wait for roadside assistance.
Can I drive normally once a donut spare is on?
Not really. Donuts come with speed and distance limits printed right on the sidewall, typically around 50 mph for a few hundred miles.
Should lug nuts be fully tightened while the car is still raised?
Snug them while the car is up, but save the full, final tightening for once the tire is back on the ground.
What should I do if my spare is already flat?
Don’t drive on it underinflated — use a portable compressor if you’ve got one, or call for roadside help.
How often should I check on my spare tire?
Every few months is a good habit, ideally whenever you’re already doing routine maintenance on the car.
Can a flat tire be repaired instead of replaced?
Often, yes, if the puncture sits in the tread area. Sidewall damage usually means it needs to be replaced instead.